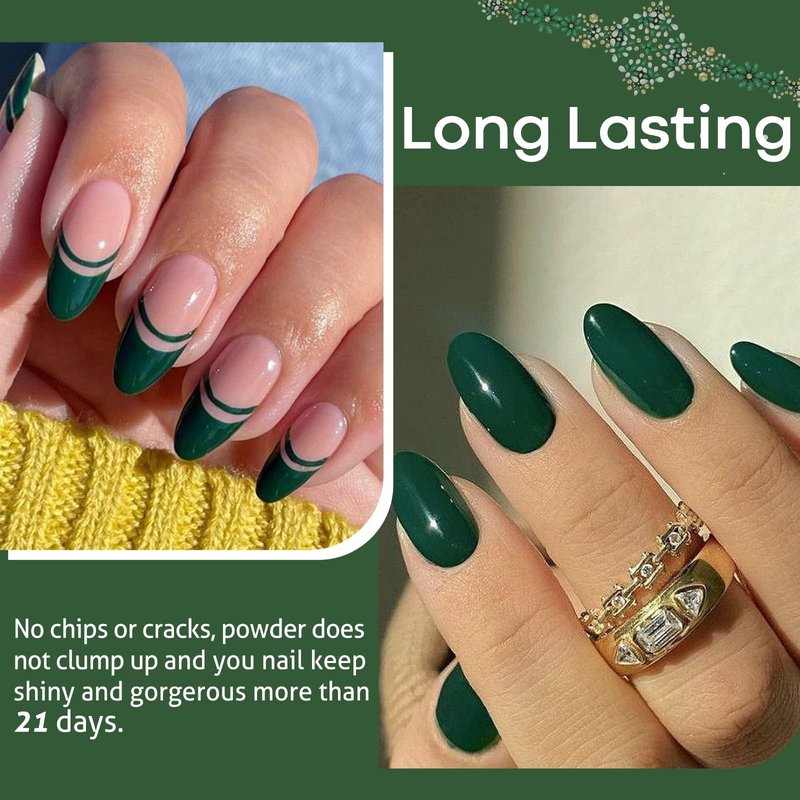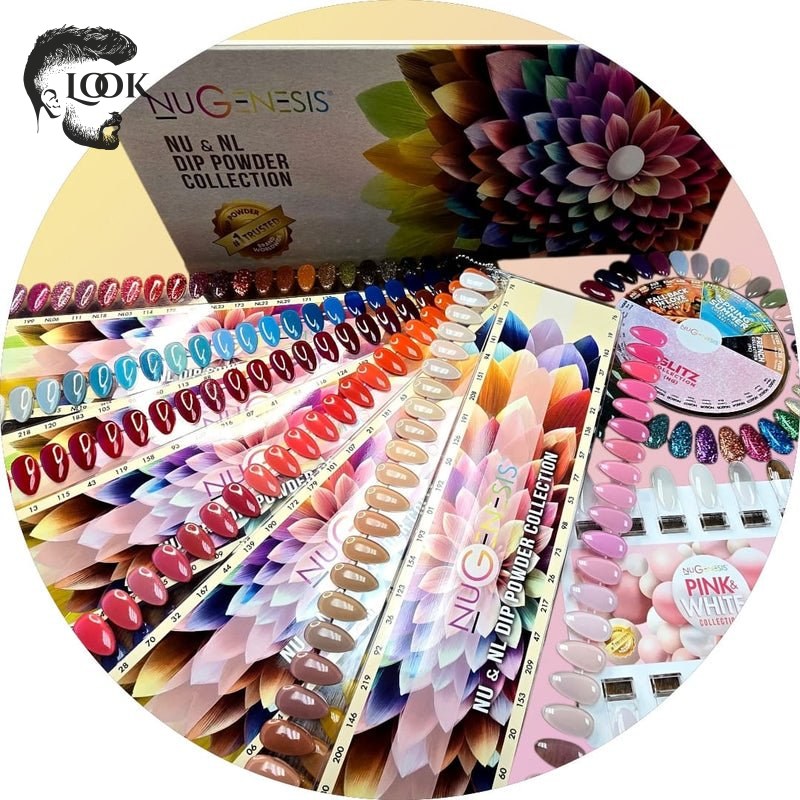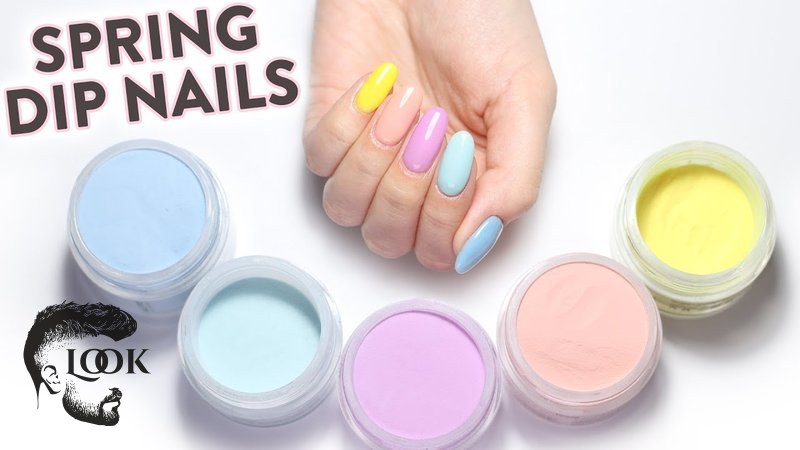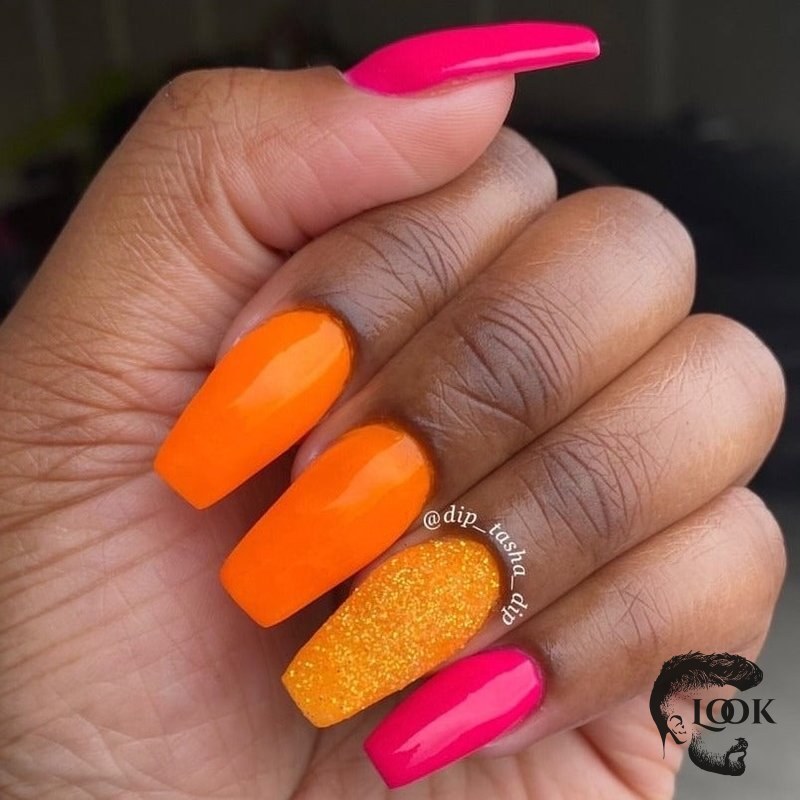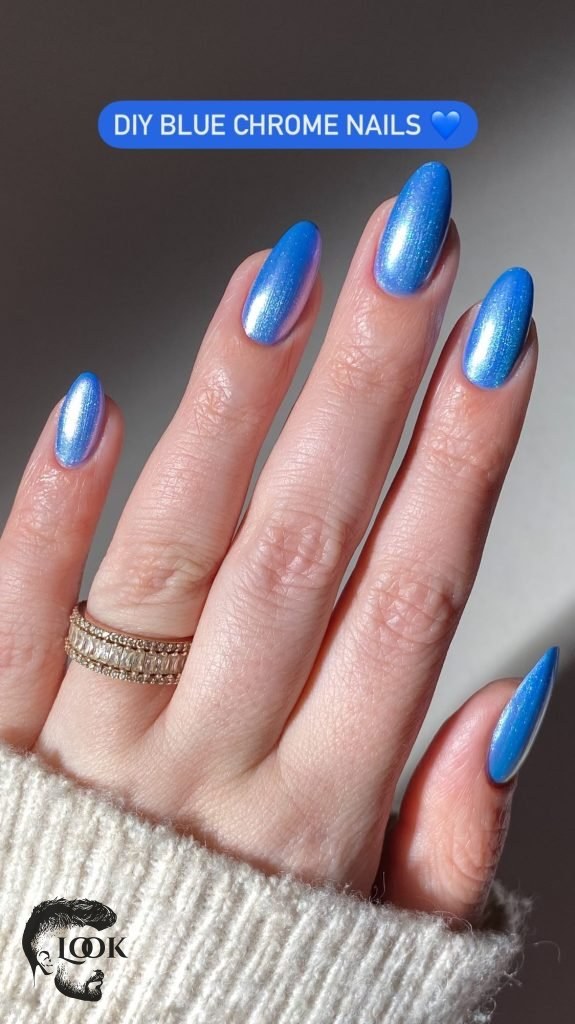
When you’re aiming for a flawless, durable manicure, one of the most common questions that comes up is how many layers of dip powder should I do? At Barberia Peluquería Look Madrid, we understand that getting the right thickness is key to both aesthetics and longevity. Most experts recommend applying two to three layers of dipping powder. This ensures good color coverage and durability without making the nails overly thick or prone to lifting. However, the exact number can vary based on several factors, including the desired opacity, the specific product you’re using, and your nail’s natural strength.
Getting the perfect dip powder manicure involves more than just selecting a beautiful color. It’s about mastering the application process, particularly the layering. Too few layers can lead to a weak, easily chipped manicure, while too many can create a bulky, unnatural look. Our goal is to help you achieve salon-quality results, whether you’re doing your nails at home or coming in for a professional service. We’ll explore the nuances of dip powder application to help you make informed decisions for your next manicure.
Determining the Optimal Number of Dip Powder Layers for Your Nails
Determining the optimal number of dip powder layers for your nails is a crucial step in achieving a long-lasting and aesthetically pleasing manicure. While a general guideline of two to three layers is widely accepted, several elements can influence this recommendation. Understanding these factors will help you customize your application for the best possible outcome, ensuring your dip powder manicure looks professional and stays intact for weeks.
The primary goal of dip powder application is to create a strong, protective layer over your natural nails while providing vibrant color. Each layer contributes to the overall strength and opacity of the manicure. Therefore, the thickness you build directly impacts how well your nails withstand daily wear and tear. Let’s delve into the specific considerations that help determine how many layers of dip powder you should do for your unique needs.
Considering the Type of Dip Powder and Desired Opacity
The type of dip powder you choose significantly impacts the number of layers required. Some powders, particularly highly pigmented or opaque shades, achieve full color coverage with fewer layers. On the other hand, sheer, glitter, or jelly-style dip powders might necessitate an additional layer or two to achieve the desired depth and vibrancy. Always check the product’s specific recommendations, as formulations can vary greatly between brands.
Your desired opacity also plays a crucial role. If you are aiming for a very subtle, natural look, fewer layers might suffice. However, for a bold, true-to-pot color, you’ll typically need at least two solid coats. Glitter dip powders often benefit from a third layer to ensure an even distribution of sparkle and to prevent any patchiness. The key is to build the layers gradually, assessing the coverage after each dip.
Assessing Your Natural Nail Strength and Length
The condition of your natural nails is another vital factor in deciding how many layers of dip powder should I do. If your nails are naturally strong and short, you might find that two layers provide ample protection and durability. These nails inherently have a good foundation, so excessive layering isn’t always necessary.
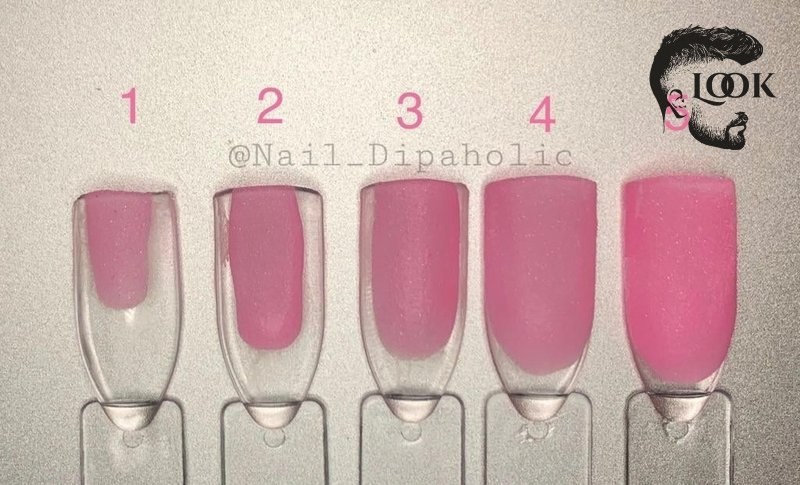
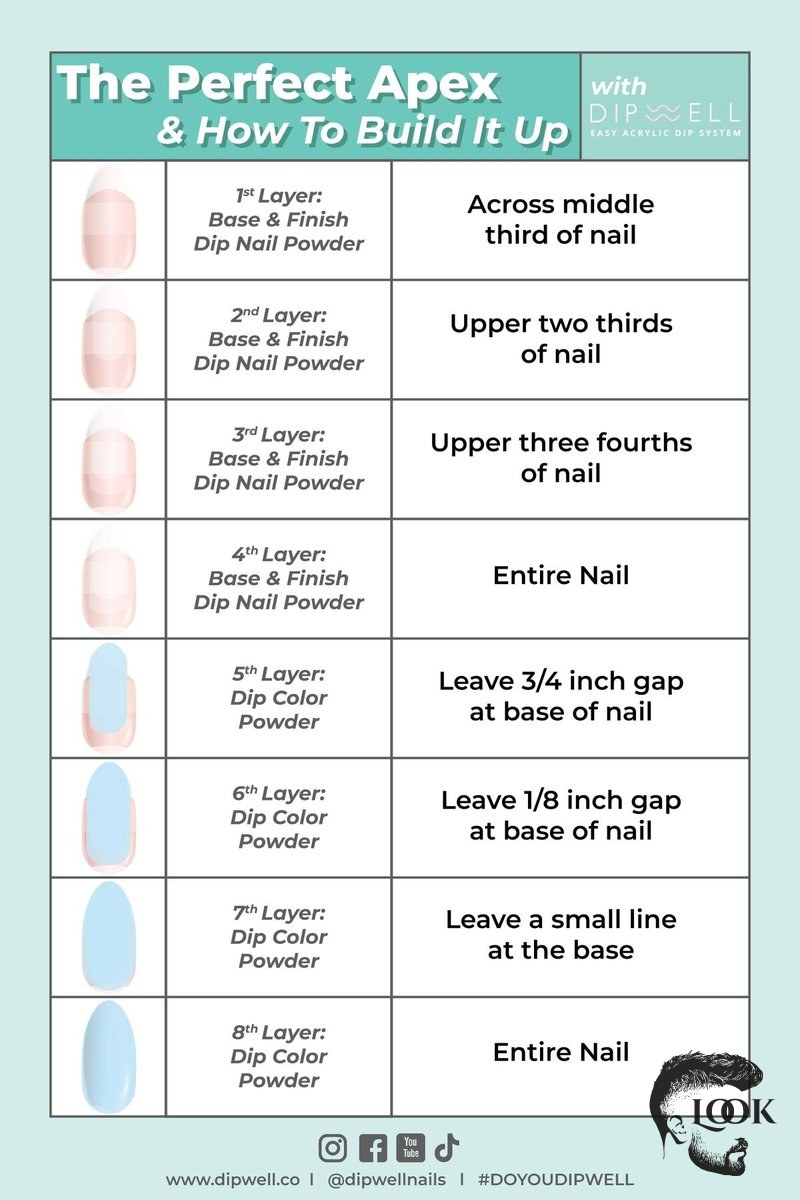
Conversely, if your natural nails are brittle, weak, or prone to breaking, adding an extra layer of dip powder can provide much-needed reinforcement. Longer nails also benefit from additional layers to prevent bending or snapping. An extra layer helps create a stronger apex, which is the highest point of the nail and critical for structural integrity. This added strength can significantly extend the life of your manicure and protect your natural nails underneath.
Achieving the Perfect Dip Powder Application Technique
Beyond the number of layers, the technique you employ for dip powder application is equally important for a flawless and long-lasting manicure. Proper application ensures even coverage, prevents lifting, and contributes to the overall strength and appearance of your nails. Mastering these techniques will elevate your dip powder game, whether you’re a beginner or looking to refine your skills. It’s not just about how many layers of dip powder should I do, but also how well each layer is applied.
From base coat application to the final sealing, each step plays a critical role. Rushing through the process or neglecting proper preparation can compromise the integrity of your manicure. At Barberia Peluquería Look Madrid, we emphasize precision and attention to detail, which are fundamental to achieving salon-quality results. Let’s explore the key steps and considerations for a perfect dip powder application.
Applying the Base Coat and First Powder Layer
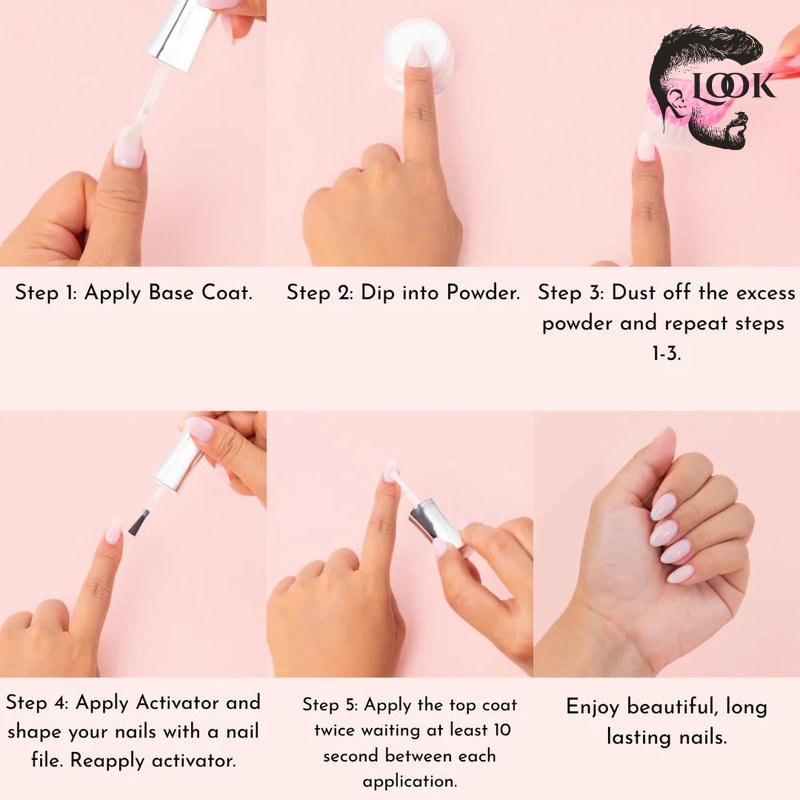
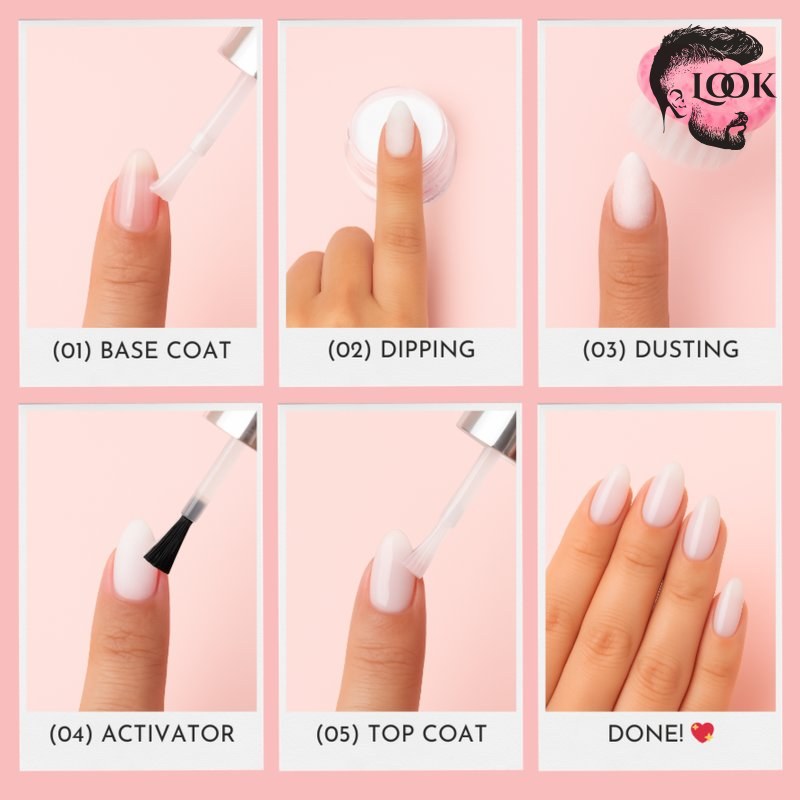
The foundation of any successful dip powder manicure lies in the meticulous application of the base coat. Start by preparing your nails: clean, file, and push back cuticles. Then, apply a thin, even layer of the dip base liquid to three-quarters of your nail, leaving a small margin around the cuticle area. This prevents flooding the cuticle and allows for a cleaner line.
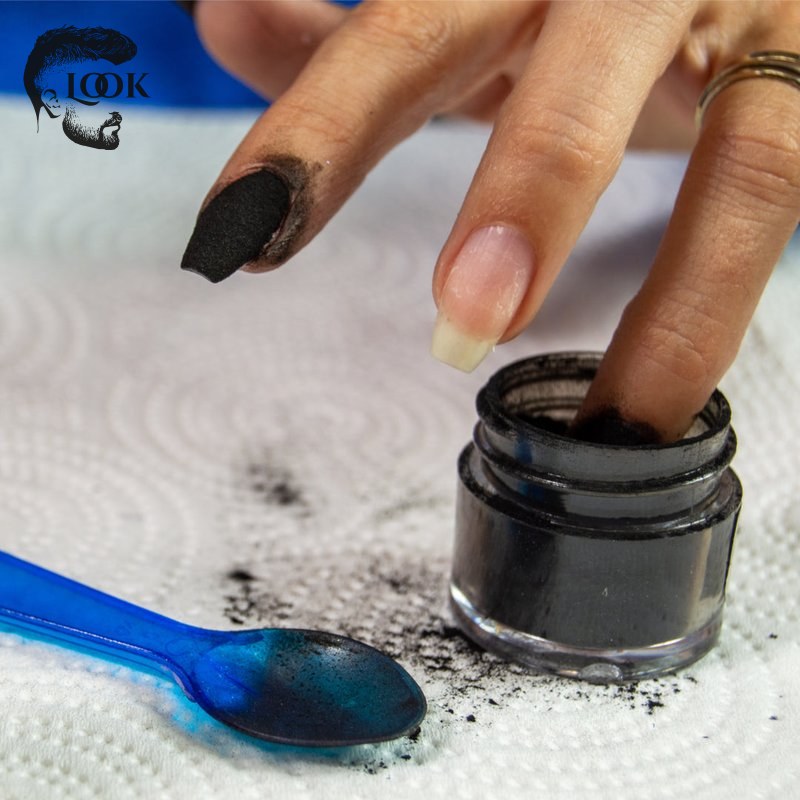
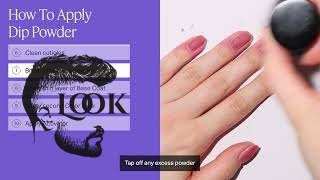
Immediately after applying the base, dip your nail into the clear or colored dip powder. Ensure full coverage without touching the sides of the jar. Tap off any excess powder gently. This first layer provides the initial adhesion and a foundational color. For optimal results, ensure your base coat isn’t too thick, as this can lead to a bulky appearance even before subsequent layers.
Building Up Subsequent Layers for Color and Strength
After the first dip, brush off any loose powder. Then, apply a second layer of base liquid, this time covering the entire nail, closer to the cuticle but still avoiding direct contact. Dip into your chosen colored powder again. This second layer is crucial for achieving opaque color and adding significant strength. Most people find that two layers provide sufficient color and durability, especially for lighter shades.
If you’re using a sheer or glitter powder, or if you desire extra strength for weak or long nails, you might consider a third layer. For this, repeat the base liquid and powder dipping process. Always remember to keep your layers thin and even. Overly thick layers can result in a bulky look and increase the chances of chipping. Building an apex during these layers can also enhance strength, particularly on longer nails, by strategically placing more powder near the nail’s stress point.
Refining and Sealing Your Dip Powder Manicure
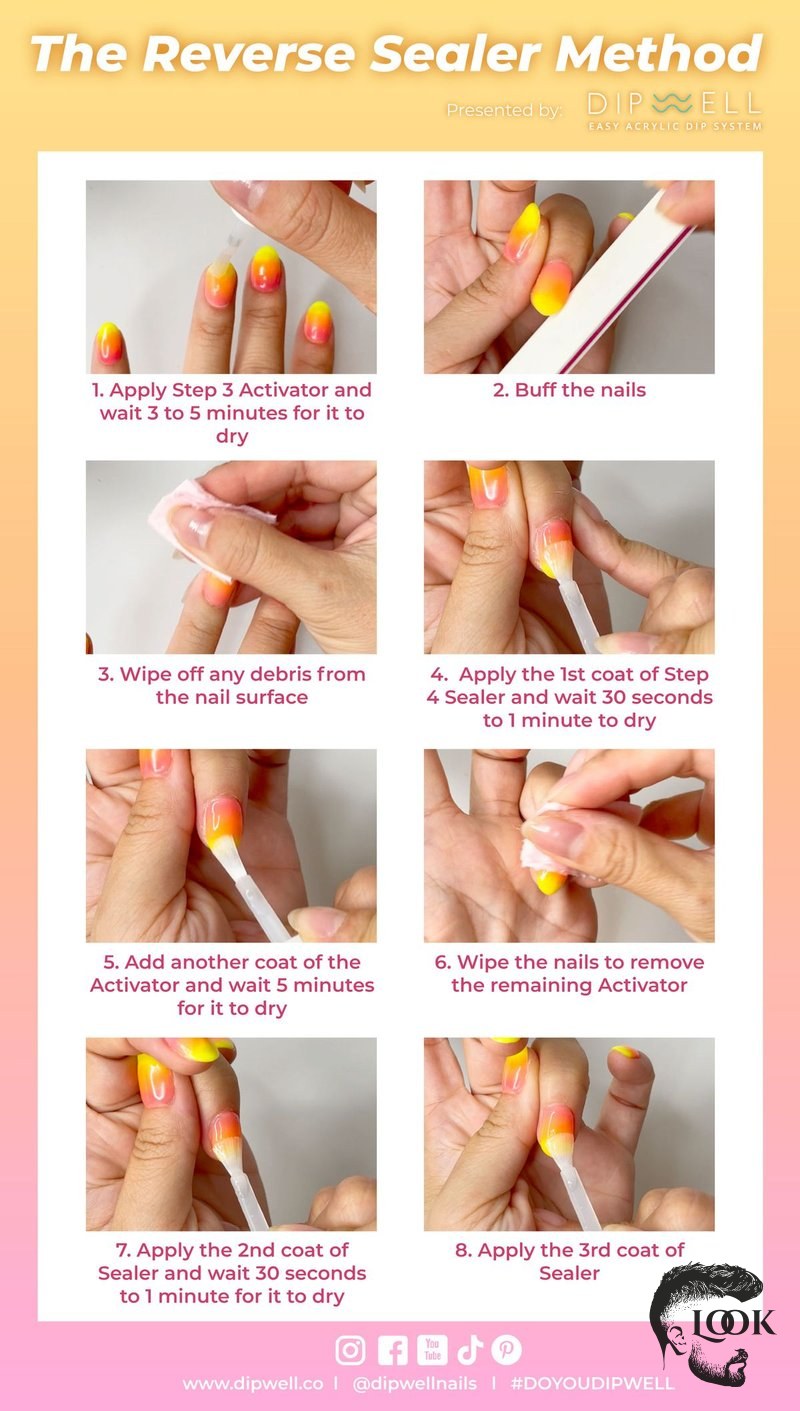
Once you’ve applied all your dip powder layers and achieved the desired opacity and thickness, it’s time for refinement. Apply a layer of dip activator liquid over all nails. This liquid hardens the powder and prepares it for filing. Allow the activator to fully dry, usually for about 1-2 minutes.
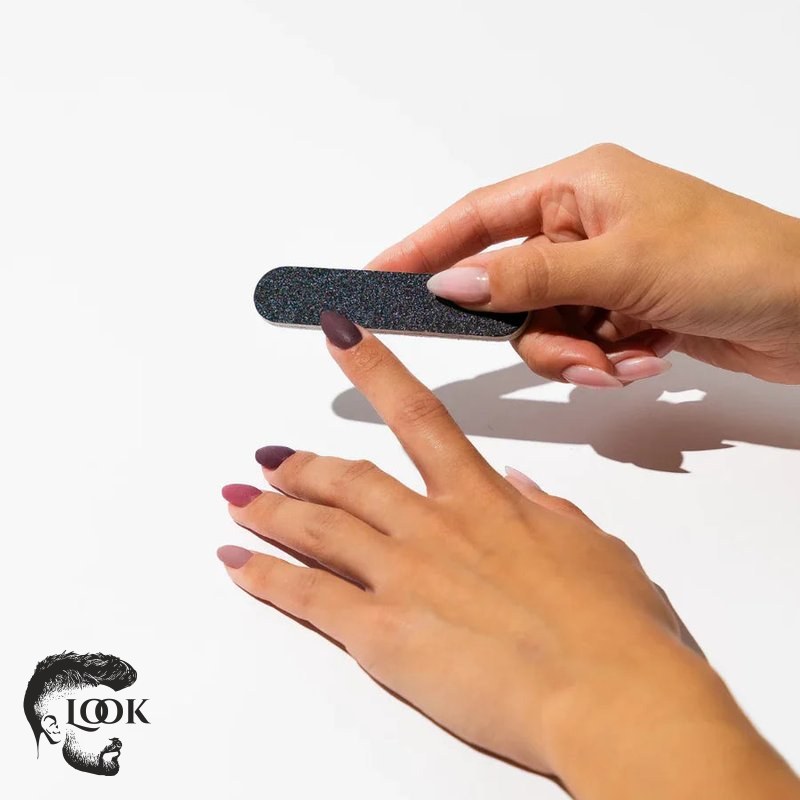
After the activator has dried, use a nail file to shape your nails and buff out any unevenness or bumps. Smooth out the surface, particularly near the cuticles and sidewalls, to prevent lifting. Once you’re satisfied with the shape and smoothness, wipe off any dust with an alcohol wipe. Finally, apply two thin layers of dip top coat, allowing each to dry completely. This top coat provides a glossy finish and seals in your beautiful manicure, ensuring maximum longevity and shine.
Common Mistakes to Avoid When Layering Dip Powder
While dip powder manicures offer incredible durability and a beautiful finish, several common mistakes can compromise their longevity and appearance. Understanding and avoiding these pitfalls is just as important as knowing how many layers of dip powder should I do. Many issues arise from improper application techniques rather than the number of layers itself. By being mindful of these errors, you can achieve a consistently flawless manicure every time.
From premature chipping to an uneven finish, these mistakes can be frustrating. However, with a bit of knowledge and practice, they are easily preventable. Let’s look at some of the most frequent errors and how to steer clear of them, ensuring your dip powder nails look professional and last as long as possible.
Applying Layers That Are Too Thick or Uneven
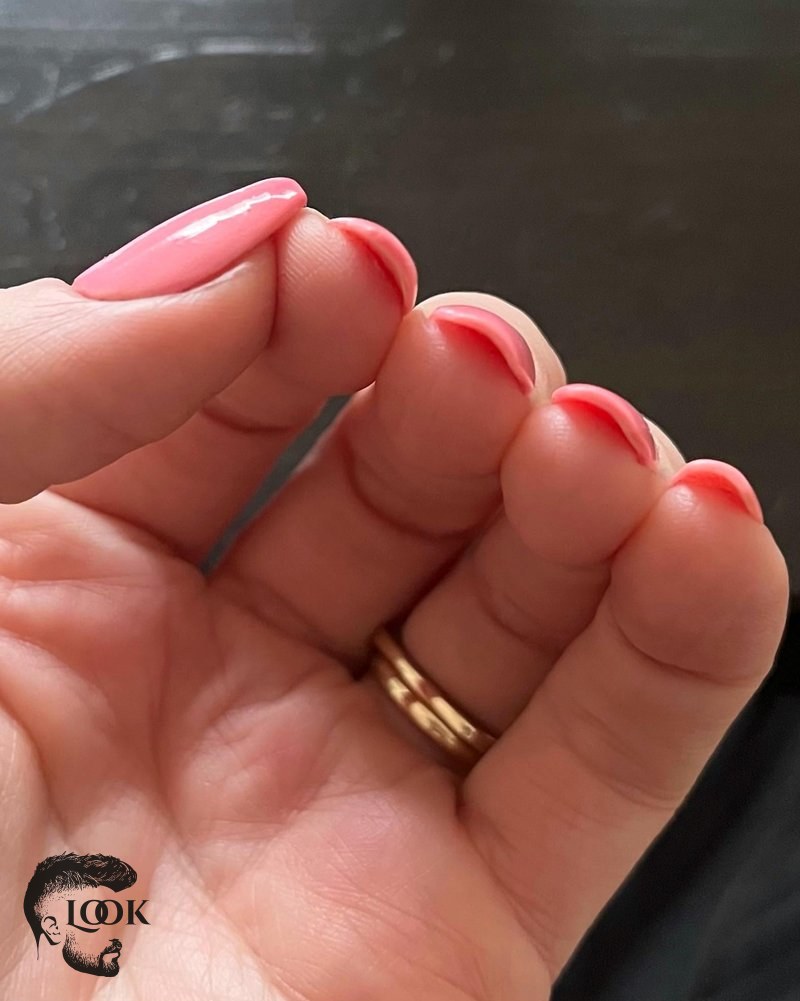
One of the most common mistakes is applying base coat layers that are too thick, which then leads to excessively thick dip powder layers. This can make your nails appear bulky and unnatural, rather than sleek and refined. Thick layers also take longer to dry and cure properly, increasing the likelihood of smudges, dents, or an uneven finish. Furthermore, overly thick applications are more prone to lifting and chipping because the layers might not bond as effectively.
Uneven application is another significant issue. If the base coat isn’t applied smoothly, the powder will adhere unevenly, resulting in a patchy or lumpy surface. This not only looks unprofessional but can also create weak spots that are more susceptible to breakage. Always strive for thin, even coats of the base liquid, ensuring complete coverage without excess product.
Neglecting Proper Nail Preparation and Activation
Proper nail preparation is the foundation of any successful manicure, and dip powder is no exception. Failing to adequately prepare your nails can lead to poor adhesion, lifting, and a much shorter lifespan for your manicure. This includes thoroughly cleaning your nails, removing any oils or residue, gently pushing back cuticles, and lightly buffing the nail plate to create a surface for the base coat to adhere to. Skipping these steps, or doing them improperly, means the dip powder won’t bond as effectively to your natural nail, making it prone to premature chipping and peeling.
Equally important is the proper use of the activator liquid. The activator is what cures and hardens the dip powder, transforming it from a soft powder into a durable, solid layer. If you don’t apply enough activator, or if you don’t allow it sufficient time to dry, the powder won’t fully harden. This can result in a soft, pliable manicure that is easily damaged or filed away. Ensure you apply an even layer of activator and wait the recommended time before filing or applying the top coat, as this is crucial for the strength and longevity of your dip powder manicure.
Frequently Asked Questions About Dip Powder Layers
Many individuals have questions about the best practices for dip powder application, especially concerning the number of layers. Understanding these common queries can help you achieve the best possible results and extend the life of your manicure.
What happens if I only apply one layer of dip powder?
Applying only one layer of dip powder typically results in a manicure that lacks sufficient strength and opacity. Your nails will be more prone to chipping and breaking, and the color may appear streaky or translucent, revealing your natural nail underneath. It’s generally not recommended for durability or full color.
Can I use a clear dip powder as a base before applying colored layers?
Yes, many people prefer to use a clear dip powder as the first layer. This can help protect your natural nails from potential staining from highly pigmented colors and provides an extra layer of strength without adding bulk to the color itself. It’s a great technique for preserving nail health.
How does glitter dip powder affect the number of layers?
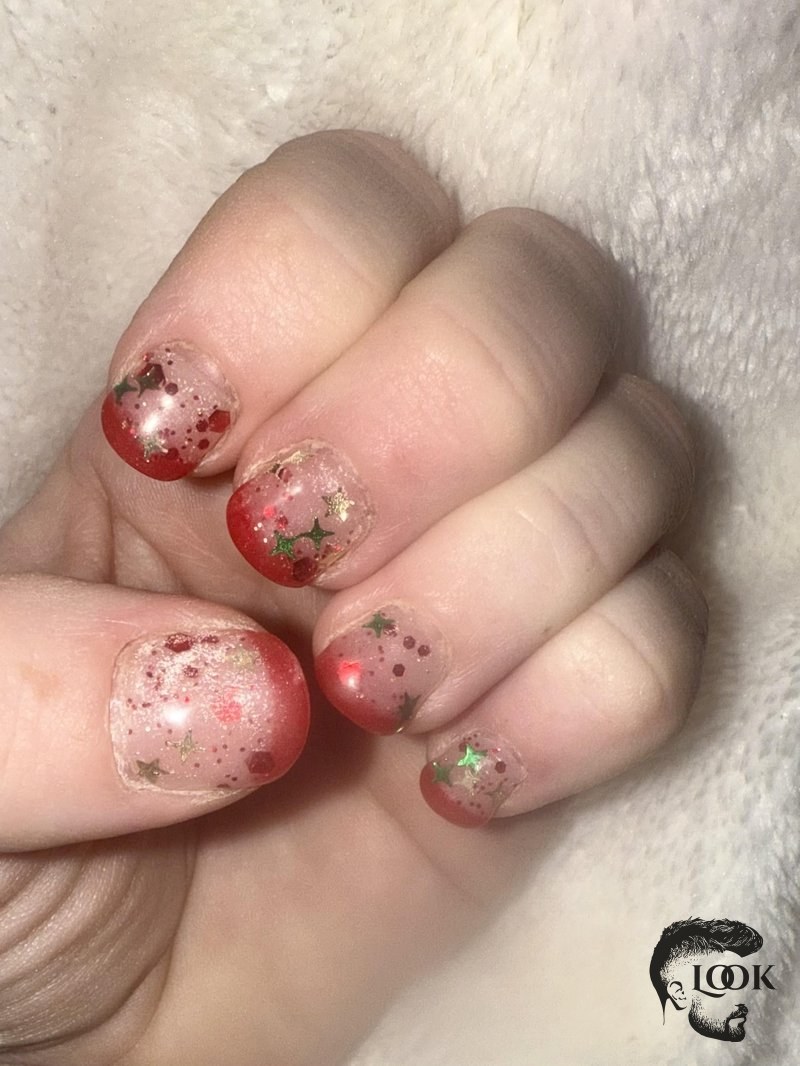
Glitter dip powders often require an extra layer compared to solid colors. This is because glitter particles can sometimes leave gaps or appear sparse with fewer coats. A third layer typically ensures a more even, vibrant distribution of glitter and a smoother finish, preventing any rough patches.
Is it possible to make my dip powder manicure thinner?
To achieve a thinner dip powder manicure, focus on applying very thin, even coats of the base liquid. Avoid overloading your brush with product, and gently tap off excess powder after each dip. Proper filing and buffing after activation can also help to slim down the overall appearance of the nails without compromising strength.
Does the number of layers impact removal time?
While more layers generally mean a thicker manicure, it doesn’t drastically increase removal time. The key factor in removal is the complete breakdown of the dip powder with acetone. However, a slightly thicker manicure might require a few extra minutes of soaking to ensure all layers are thoroughly softened for easy removal.
Conclusion on How Many Layers of Dip Powder Should I Do
Ultimately, the question of how many layers of dip powder should I do doesn’t have a single, universal answer. While two to three layers serve as an excellent guideline for most people, the ideal number depends on a blend of factors: the specific type of dip powder, your desired opacity, and the natural strength and length of your nails. Understanding these nuances empowers you to customize your application, ensuring both aesthetic beauty and durable wear.
Throughout this article, we’ve explored how different powder types, nail conditions, and application techniques all play a crucial role. From the importance of thin, even base coats to the strategic building of layers for strength and color, mastering these steps is key to a professional-looking and long-lasting manicure. Avoiding common mistakes like overly thick layers or inadequate preparation will significantly enhance your results.
We hope this comprehensive guide has demystified the process, providing you with the knowledge and confidence to achieve perfect dip powder nails every time. Whether you’re a DIY enthusiast or seeking professional care, Barberia Peluquería Look Madrid is here to help you shine. For expert advice and exceptional services, visit Barberia Peluquería Look Madrid and discover the difference quality makes.