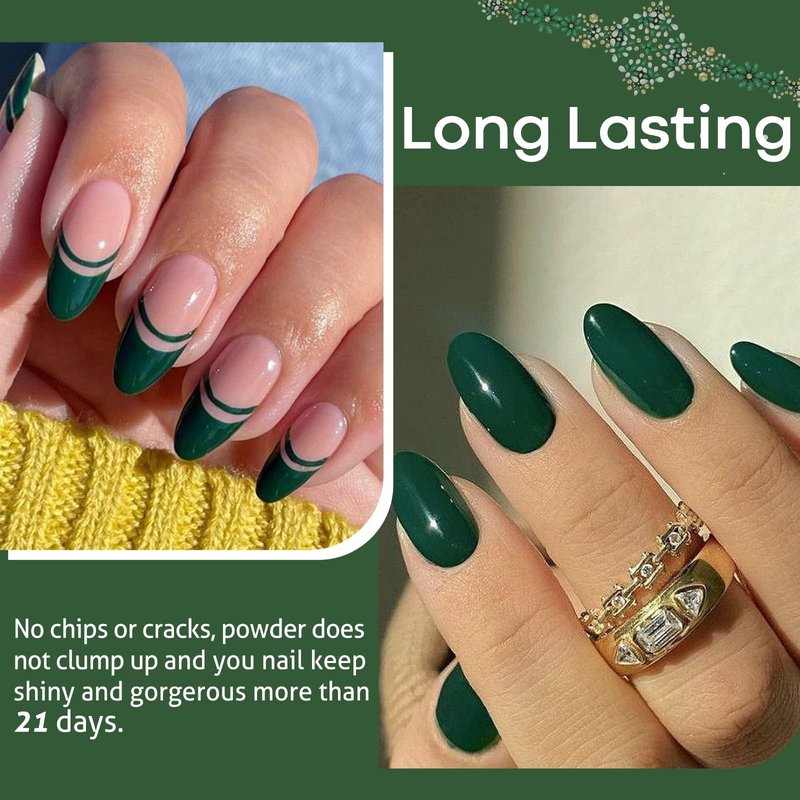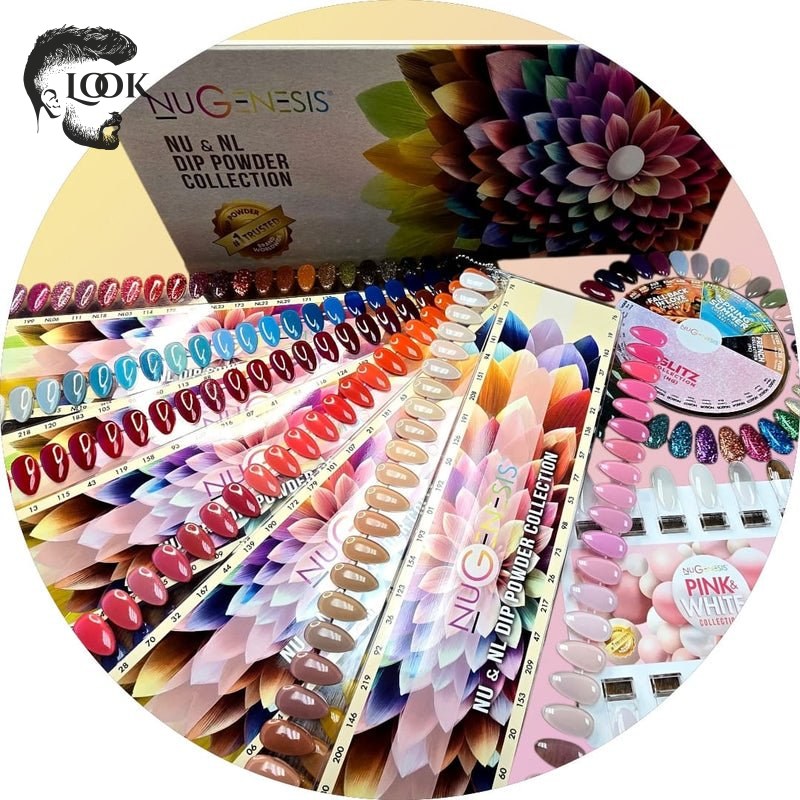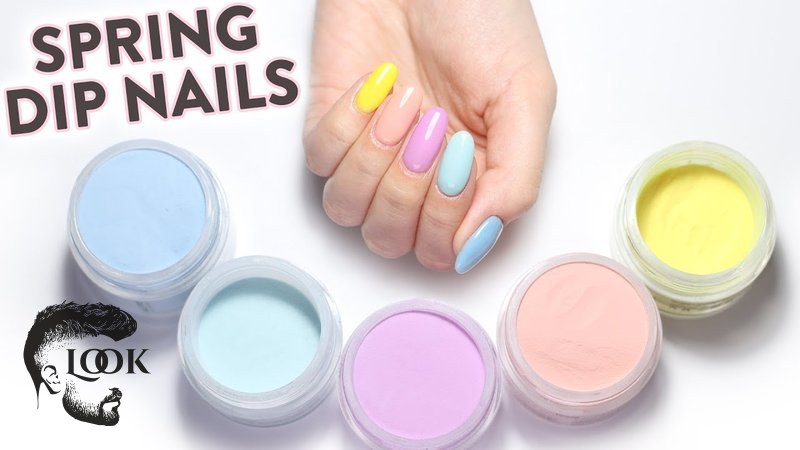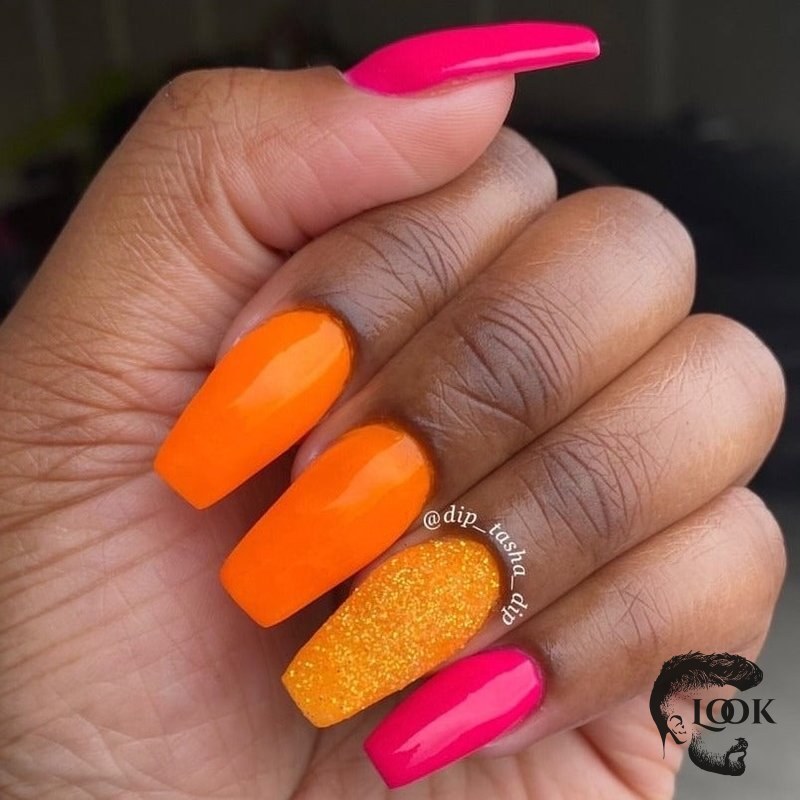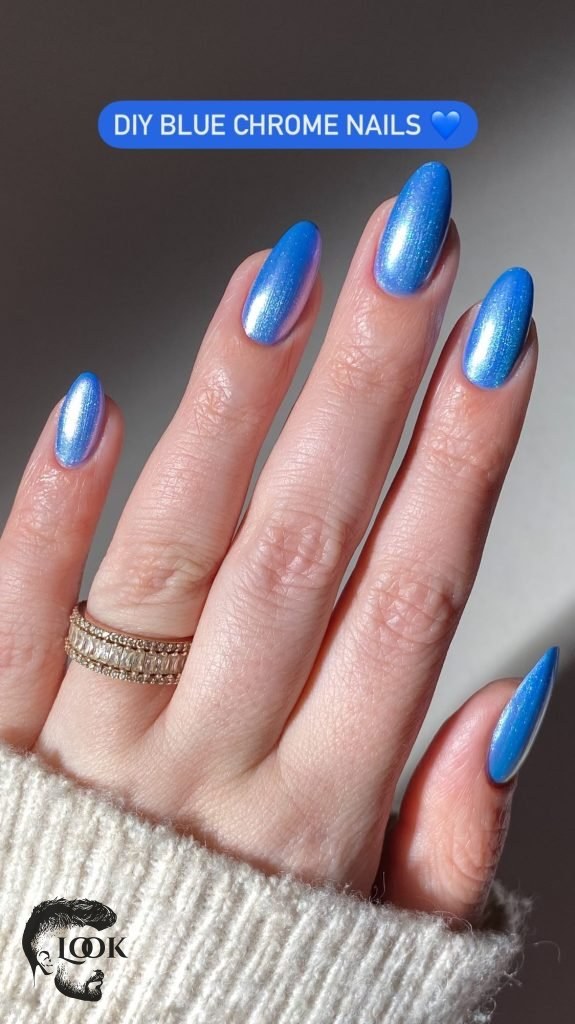
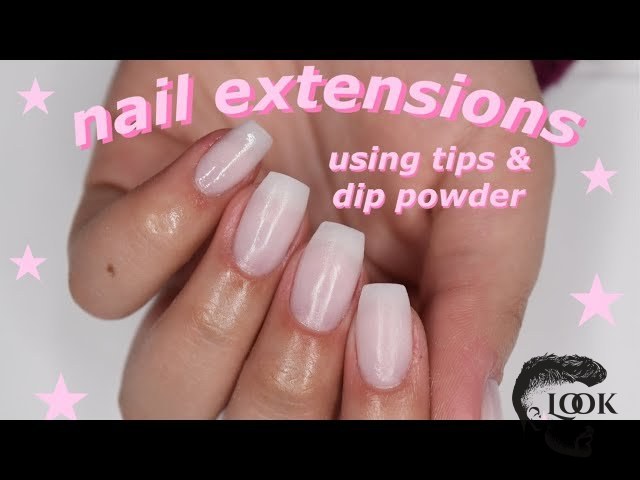
Getting a salon-quality manicure at home might seem daunting, but with the right guidance, you can master the art of dip powder nails with tips. This detailed guide will walk you through every single step to help you achieve beautiful, durable nails right in your own space. At Barberia Peluquería Look Madrid, we believe everyone deserves to feel confident and beautiful, and learning to do your own dip powder nails is a fantastic way to do just that. This method offers a long-lasting and chip-resistant finish, perfect for anyone looking to extend the life of their manicure without frequent salon visits.
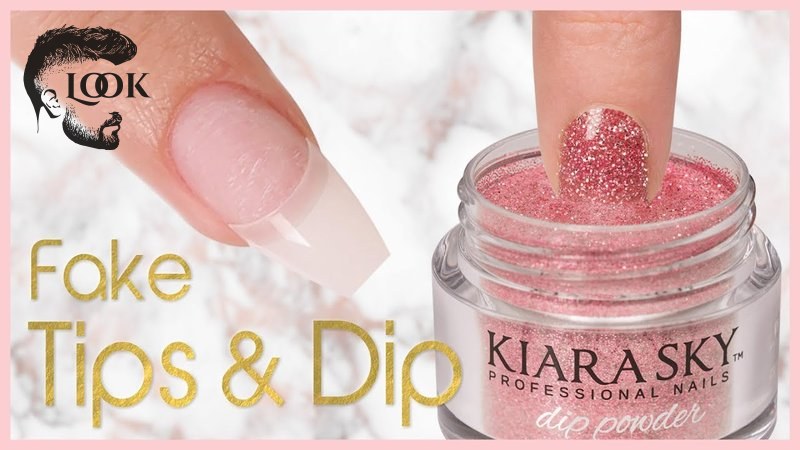
The process of applying dip powder nails with tips involves several key stages, from preparing your natural nails and applying the tips to dipping into the powder and finishing with a top coat. Each step requires precision and attention to detail, but with practice, you will find it becomes much easier and quicker. We will cover all the necessary tools and products, ensuring you have everything you need before you begin. By following our instructions carefully, you will be able to enjoy a professional-looking manicure that lasts for weeks.
Prepare your nails for a flawless dip powder application
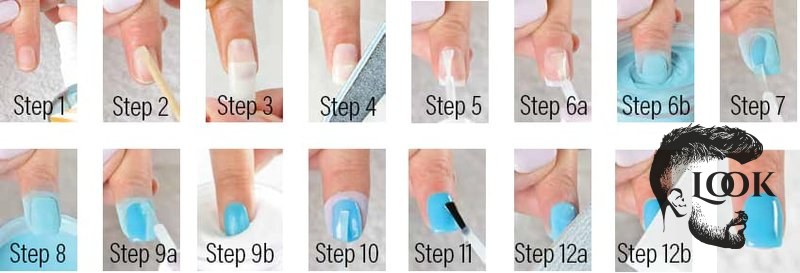
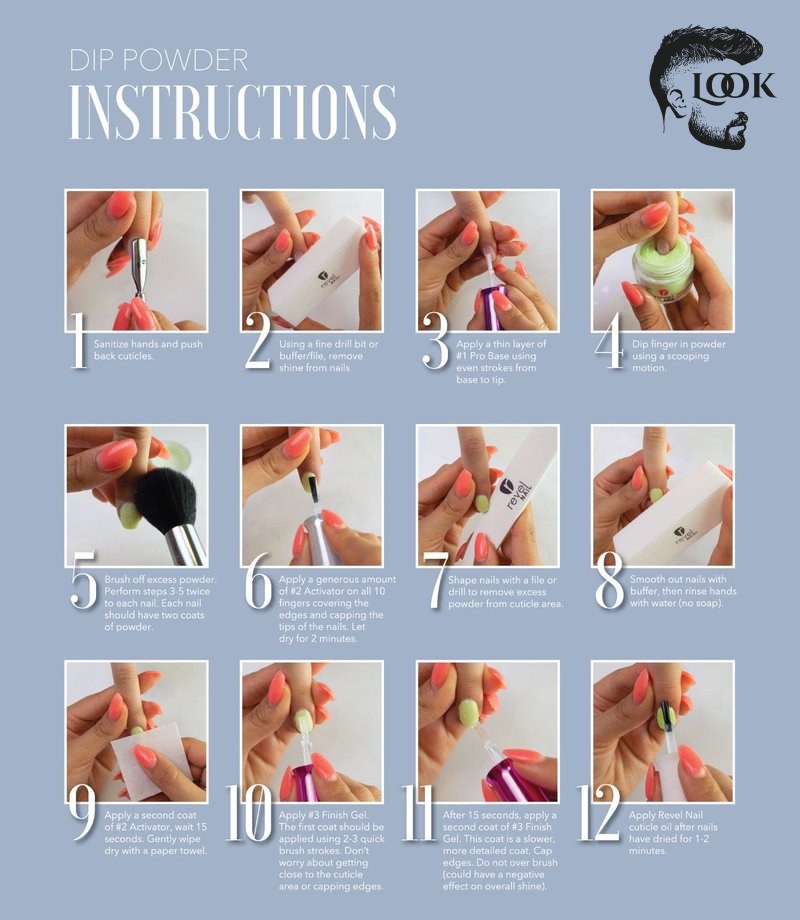
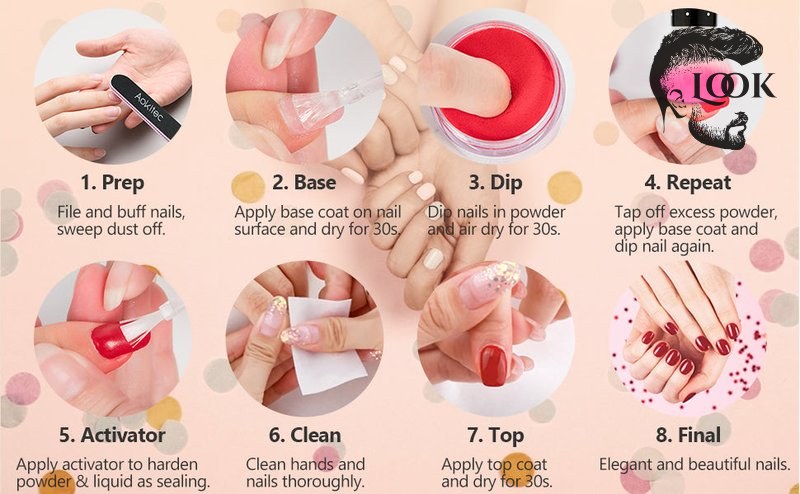
Proper nail preparation is the foundation for any successful dip powder manicure. This crucial initial phase ensures optimal adhesion of the tips and powder, preventing lifting and extending the longevity of your beautiful nails. Begin by thoroughly cleaning your nails, removing any old polish, oils, or residue using an acetone-free nail polish remover. Push back your cuticles gently using a cuticle pusher, being careful not to cut them. If necessary, trim any excess cuticle skin.
Next, carefully file and shape your natural nails to your desired length and shape. Gently buff the surface of each nail with a fine-grit buffer to remove any natural oils and create a slightly rough surface for better adhesion. This step is vital for ensuring the dip powder base coat has something to grip onto. After buffing, wipe your nails with a lint-free wipe soaked in rubbing alcohol or a nail dehydrator to remove any dust and further dehydrate the nail plate. Your nails should now be clean, dry, and ready for the next exciting stage of adding tips.
Apply the nail tips and shape them perfectly
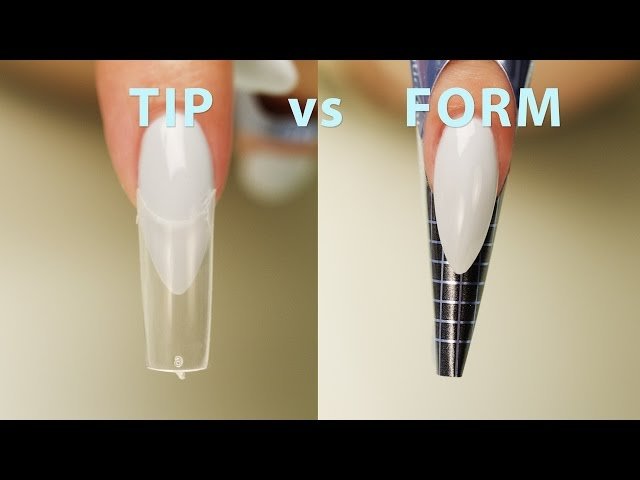
After preparing your natural nails, the next exciting step is to apply the nail tips, which will provide the desired length and shape for your dip powder manicure. Choose the correct size tip for each nail, ensuring it fits snugly from side wall to side wall without overhang or gaps. An ill-fitting tip can lead to lifting and compromise the overall durability of your manicure. Apply a small bead of nail glue to the well of the tip, where it will attach to your natural nail.
Carefully place the tip onto your natural nail, aligning it perfectly with the free edge. Press down firmly and hold for about 10-15 seconds to allow the glue to set completely. Once all tips are securely attached, use nail clippers to trim them to your preferred length. Then, shape them with a nail file, creating the desired aesthetic, whether it is square, coffin, almond, or stiletto. Remember to gently buff the surface of the tips and the seam where the tip meets your natural nail to create a smooth transition. This smooth surface is crucial for a seamless dip powder application.
Master the dip powder application technique
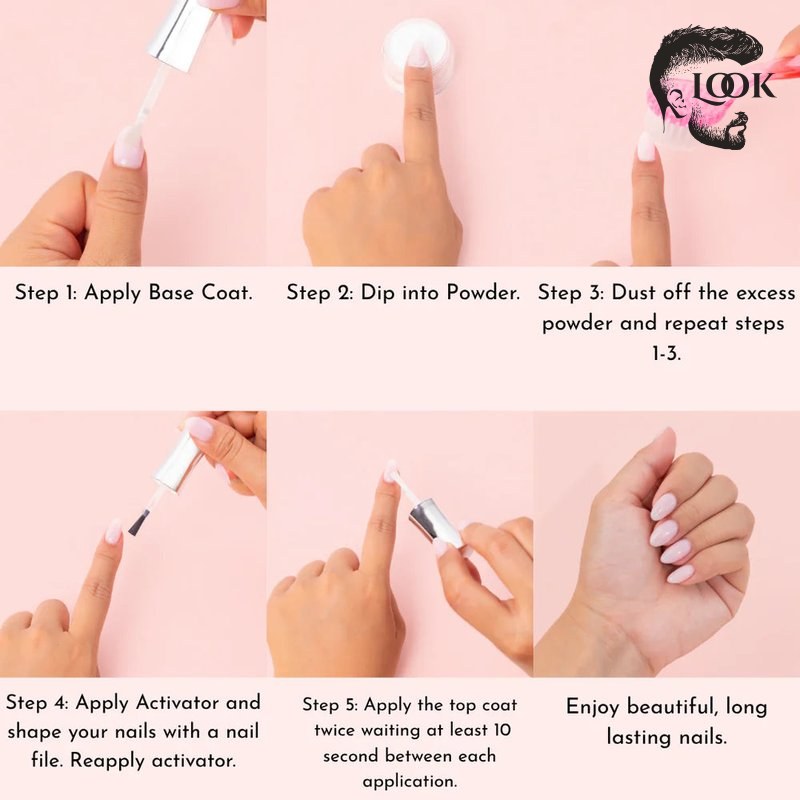
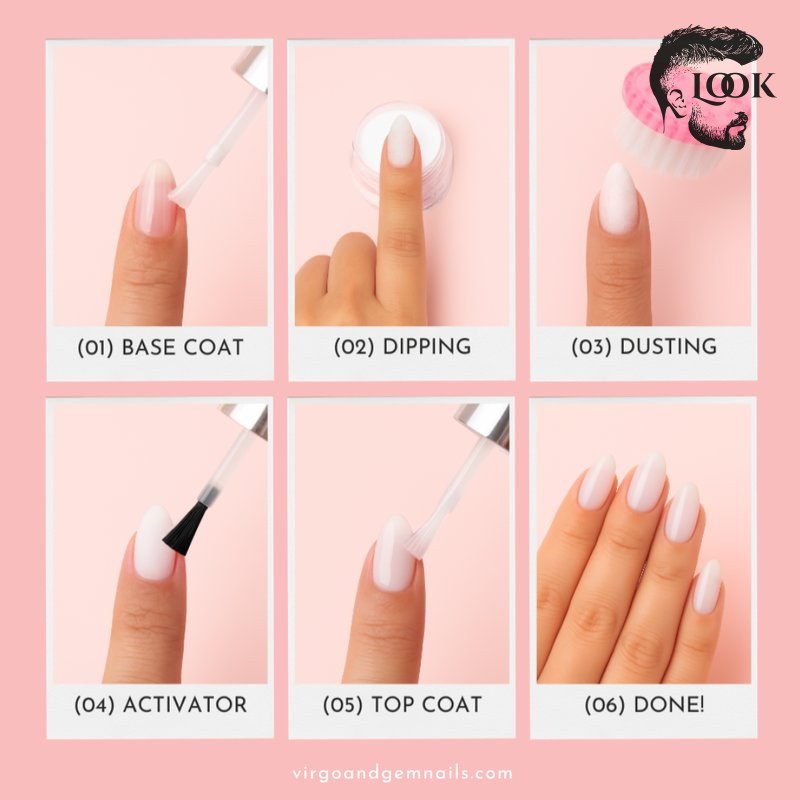
Now comes the core of creating your dip powder nails with tips: the actual dipping process. This stage requires precision and a steady hand to ensure even coverage and a smooth finish. Start by applying a thin, even layer of dip base coat to about three-quarters of your nail, beginning from the cuticle area and extending towards the tip. Immediately after applying the base coat, dip your entire nail into the chosen dip powder at a 45-degree angle. Ensure full coverage, then gently tap off any excess powder.
Repeat this process for each nail, working one finger at a time to prevent the base coat from drying prematurely. After the first layer of powder is applied to all nails, apply a second thin layer of base coat, this time covering the entire nail from cuticle to tip. Dip your nail back into the powder, tap off the excess, and repeat for all nails. For deeper color or added strength, you can apply a third layer of powder following the same method. Many professionals recommend using a clear dip powder as a final layer over your color to protect it and add extra durability.
Activate, buff, and shape for a perfect finish
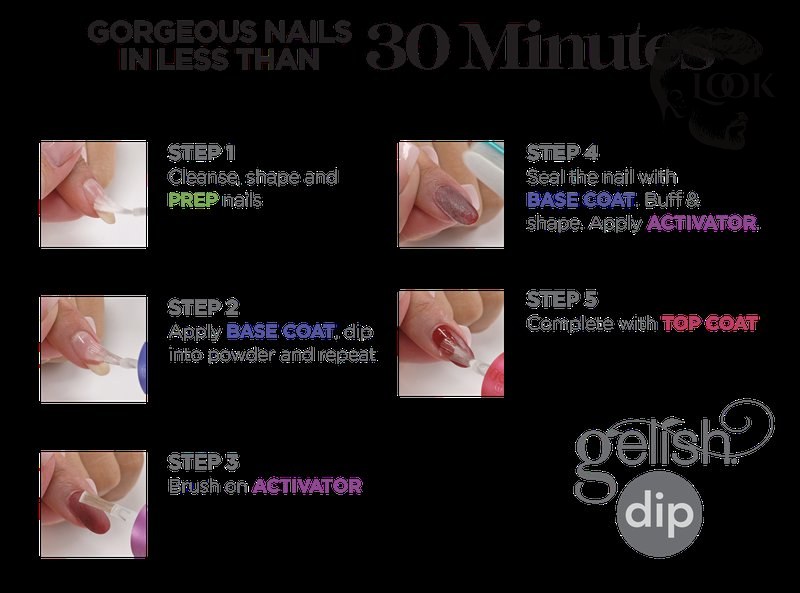
Once you have achieved your desired color and thickness with the dip powder, the next critical step is to apply the activator. The activator liquid hardens the powder and prepares it for filing and shaping. Apply a generous amount of activator to all your nails, ensuring complete coverage. Allow the activator to dry completely for about one to two minutes; you will notice the surface of the nails becoming harder and less tacky.
After the activator has fully dried, it is time to refine the shape and smooth out any imperfections. Use a nail file to gently shape the nails, ensuring a smooth and even surface. Pay close attention to the side walls and the cuticle area, filing away any excess powder or unevenness. Once you are satisfied with the shape, use a fine-grit buffer to smooth the entire nail surface. This buffing action will remove any bumps or ridges, creating a flawless canvas for your top coat. Wipe away all dust with a lint-free wipe to ensure a clean surface.
Apply the top coat for a high-gloss, protective layer
The final step in achieving stunning dip powder nails with tips is applying the top coat, which locks in your color, provides a beautiful shine, and offers an extra layer of protection. After you have activated, buffed, and cleaned your nails thoroughly, ensure there is no dust or residue left on the surface. Apply a thin, even layer of dip powder top coat to one nail. Work quickly and efficiently, as many dip top coats dry relatively fast.
Allow the first layer of top coat to dry for about 30 seconds to one minute. Then, apply a second thin layer of top coat to each nail. This second layer helps to ensure a high-gloss finish and provides maximum durability. It is crucial to allow the top coat to air dry completely, which can take several minutes depending on the brand. Avoid touching your nails or exposing them to water during this drying period to prevent smudges or dullness. With the top coat fully dry, your dip powder nails with tips are complete, showcasing a beautiful and long-lasting manicure.
Tips for long-lasting dip powder nails
Achieving dip powder nails with tips that last for weeks involves more than just following the steps; it also requires attention to certain techniques and aftercare. One crucial tip is to always apply thin, even layers of base coat and powder. Thick layers can lead to a bulky appearance and are more prone to chipping and lifting. Take your time to ensure each layer is smooth and fully covers the nail without touching the cuticles, as product on the cuticles is a common cause of lifting.
Another important aspect is sealing the free edge of your nails with every layer of base coat and top coat. This helps to encapsulate the product, preventing water and debris from getting underneath and causing the manicure to lift. After your manicure is complete, regularly moisturize your cuticles and hands with cuticle oil and hand cream. This keeps your nails and surrounding skin hydrated, promoting nail health and enhancing the longevity of your dip powder manicure.
Additionally, avoid using your nails as tools to open cans or scratch surfaces, as this can cause them to chip or break. If you notice any lifting, address it promptly to prevent further damage. While this guide focuses on Barberia Peluquería Look Madrid and salon-quality results at home, remember that practice makes perfect. The more you work on your dip powder nails with tips, the more proficient you will become, leading to consistently stunning and durable manicures.
| Step | Product Used | Purpose |
|---|---|---|
| 1. Nail Prep | Nail dehydrator, cuticle pusher | Clean, dehydrate, and prepare natural nail surface for adhesion. |
| 2. Tip Application | Nail tips, nail glue | Extend nail length and create desired shape. |
| 3. Base Coat & Dip | Dip base coat, dip powder | Apply color and build strength. |
| 4. Activate & Shape | Activator, nail file, buffer | Harden powder, refine shape, and smooth surface. |
| 5. Top Coat | Dip top coat | Provide high-gloss finish and protection. |
Common mistakes to avoid when doing dip powder nails
While the process of creating dip powder nails with tips is relatively straightforward, certain mistakes can compromise the outcome and longevity of your manicure. One common error is applying too much base coat or dip powder. This can lead to thick, bulky nails that look unnatural and are more prone to chipping. Always aim for thin, even layers, building up the color and strength gradually. Over-dipping or not tapping off excess powder properly can also result in an uneven, lumpy finish.
Another frequent mistake is getting product on the cuticles or skin surrounding the nails. When the base coat or powder touches the skin, it creates a point of lifting, which can cause the entire manicure to peel prematurely. Use an orange wood stick or a cuticle pusher to carefully clean around the edges before applying the activator. Additionally, not allowing each layer of activator and top coat to dry completely before proceeding to the next step can lead to a dull finish or smudging. Patience is key to achieving a professional and long-lasting dip powder manicure.
Frequently asked questions about dip powder nails
How long do dip powder nails with tips typically last?
Dip powder nails with tips are known for their durability and can typically last anywhere from 3 to 4 weeks, depending on proper application, nail growth, and daily activities. Regular application of cuticle oil can help extend their lifespan by keeping the nails hydrated.
Can I do dip powder nails at home if I’m a beginner?
Yes, absolutely! With a good quality dip powder kit and detailed instructions, beginners can successfully achieve dip powder nails with tips at home. Practice is key, and starting with a clear or light color can make the learning process easier.
Is dip powder damaging to natural nails?
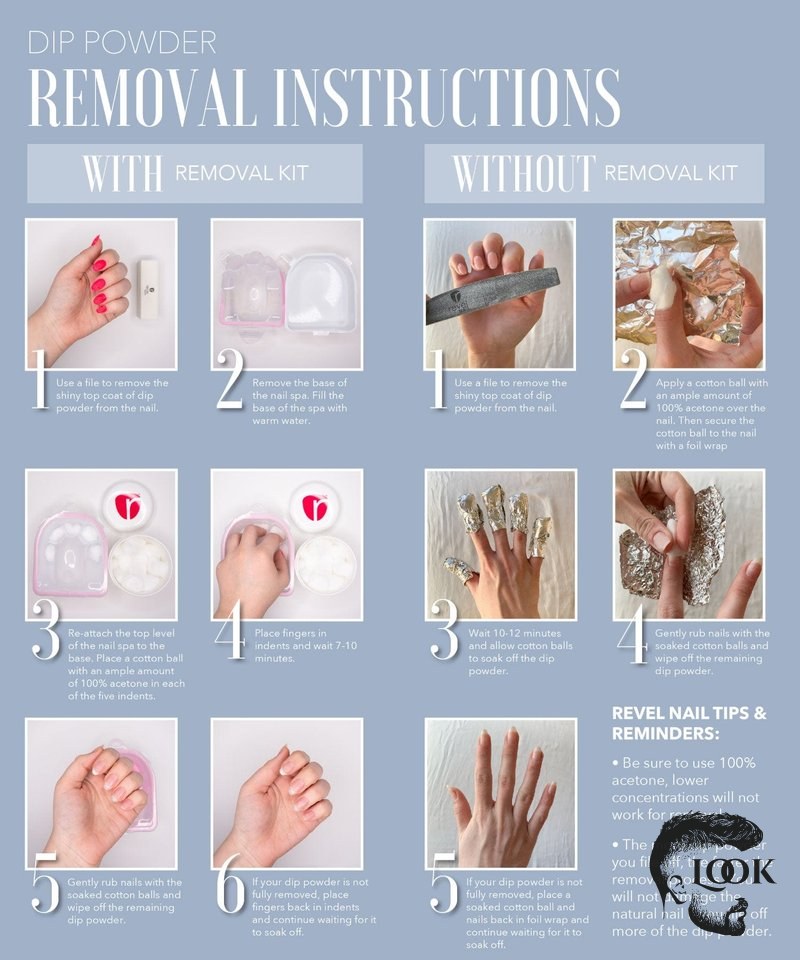
When applied and removed correctly, dip powder is generally not damaging to natural nails. The key is to avoid peeling or prying off the product, which can strip layers of your natural nail. Proper soak-off removal is essential to maintain nail health.
What’s the difference between dip powder and gel nails?
Dip powder nails involve dipping the nail into a colored powder after applying a base coat, which is then activated and sealed with a top coat. Gel nails use a liquid gel polish that is cured under a UV or LED light at each step. Both offer long-lasting wear.
How do I remove dip powder nails safely?
To remove dip powder nails safely, you should file down the shiny top coat and then soak your nails in acetone for 15-20 minutes. Gently push off the softened product with an orange wood stick. Avoid forcing the product off to prevent damage to your natural nails.
Conclusion
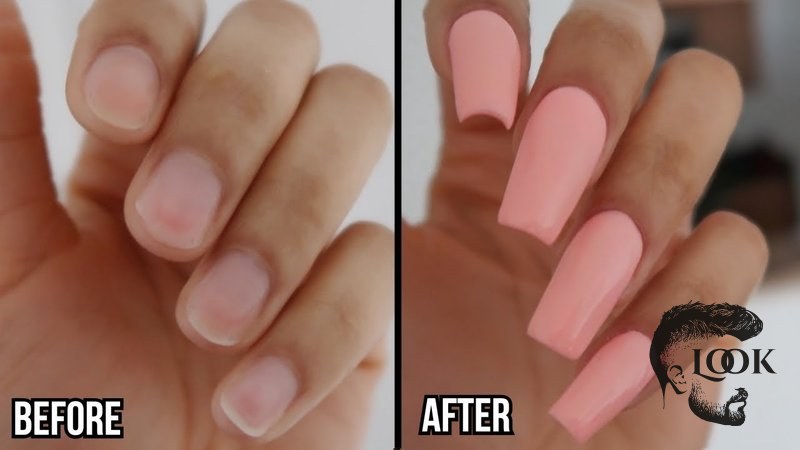
Mastering the art of dip powder nails with tips step by step offers a fantastic way to achieve beautiful, long-lasting manicures from the comfort of your home. By meticulously following each stage, from careful nail preparation and tip application to precise dipping, activating, and top coat finishing, you can create salon-quality results that will impress. We have covered all the essential techniques and highlighted common pitfalls to avoid, ensuring you have the knowledge to succeed.
The durability and stunning finish of dip powder nails make them a popular choice for many. With a little practice, you will find yourself effortlessly creating flawless manicures that last for weeks. Embrace the process and enjoy the satisfaction of perfectly styled nails. For more beauty tips and to discover other services, feel free to visit us at Barberia Peluquería Look Madrid.