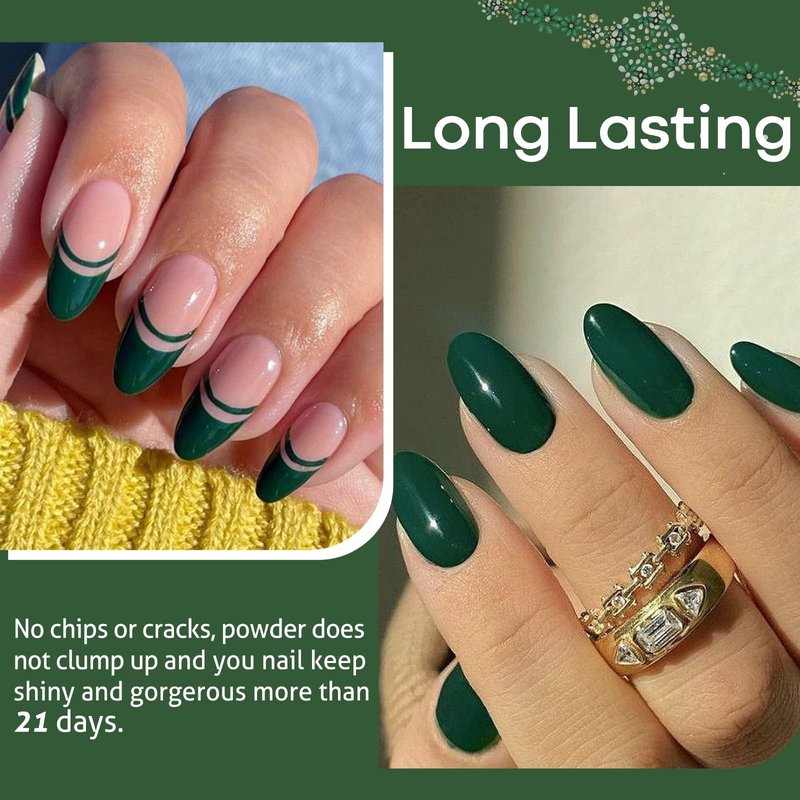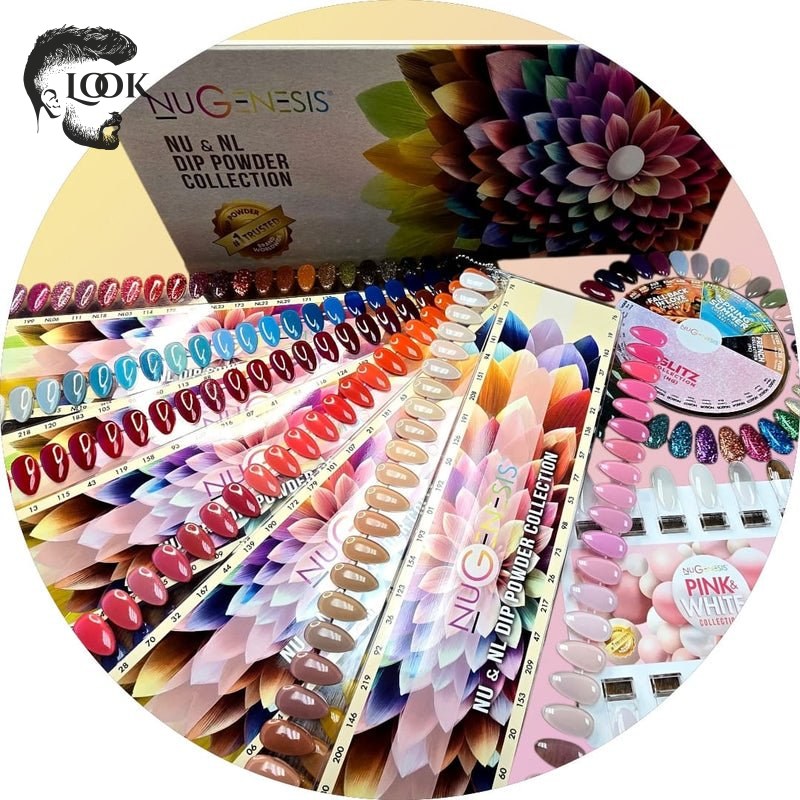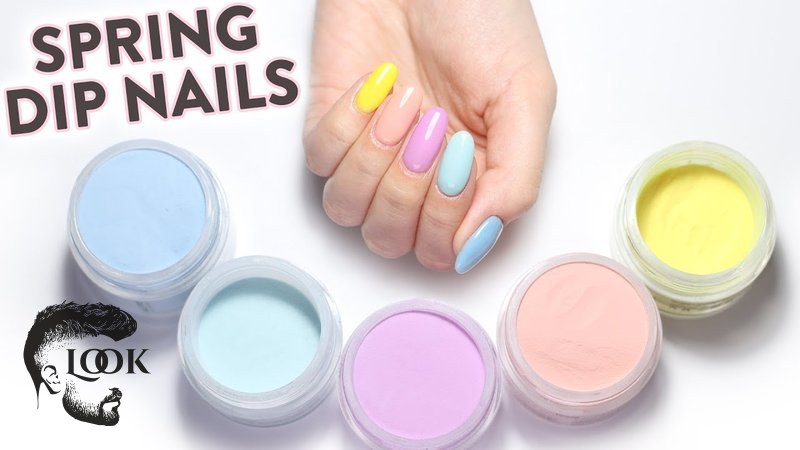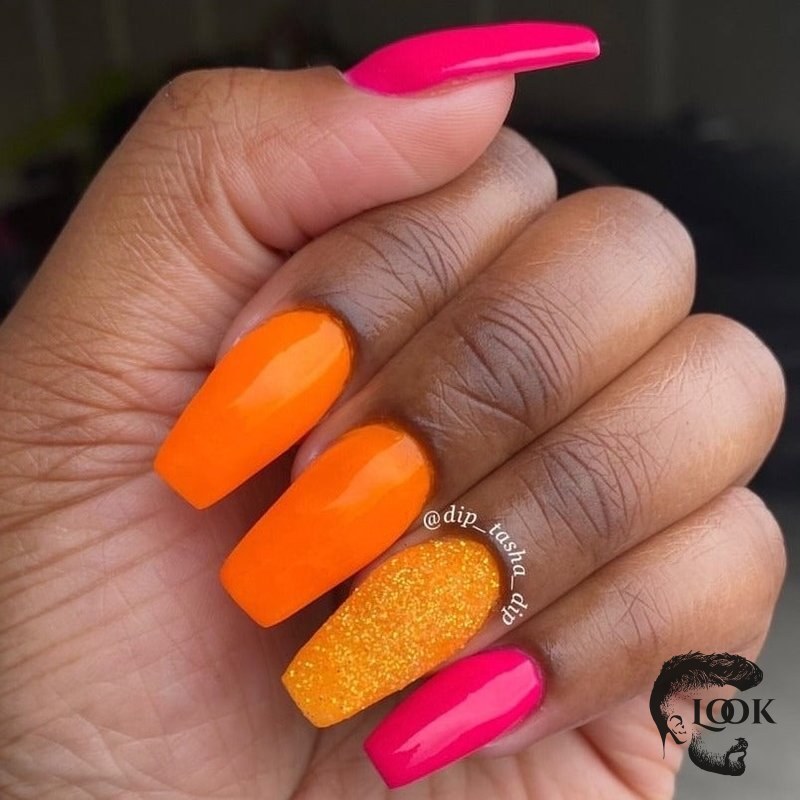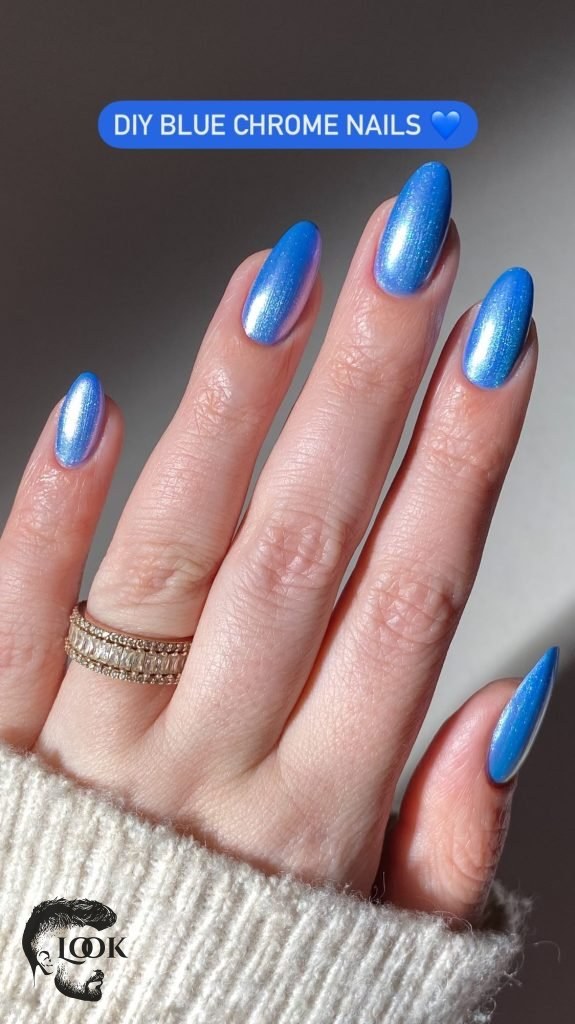
When it comes to achieving a flawless dip powder manicure, using the right nail buffer is absolutely essential for a smooth and even finish. A high-quality nail buffer for dip powder helps refine the surface, remove any bumps, and prepare your nails perfectly for the top coat. At Barberia Peluquería Look Madrid, we understand the importance of precision and quality in every step of your nail care routine. This guide will walk you through everything you need to know to select and use the best buffers for your dip powder nails, ensuring a professional look every time.
Understanding the unique texture of dip powder requires specific tools to achieve that coveted glass-like smoothness. Regular nail files might be too harsh or not effective enough to properly shape and buff the dip layers. That’s why investing in a buffer designed for dip powder is a game-changer for both at-home enthusiasts and professional nail technicians. We’ll explore the different types of buffers available, their grits, and how to use them effectively to transform your dip powder applications.
Why a Specific Nail Buffer Makes a Difference for Dip Powder
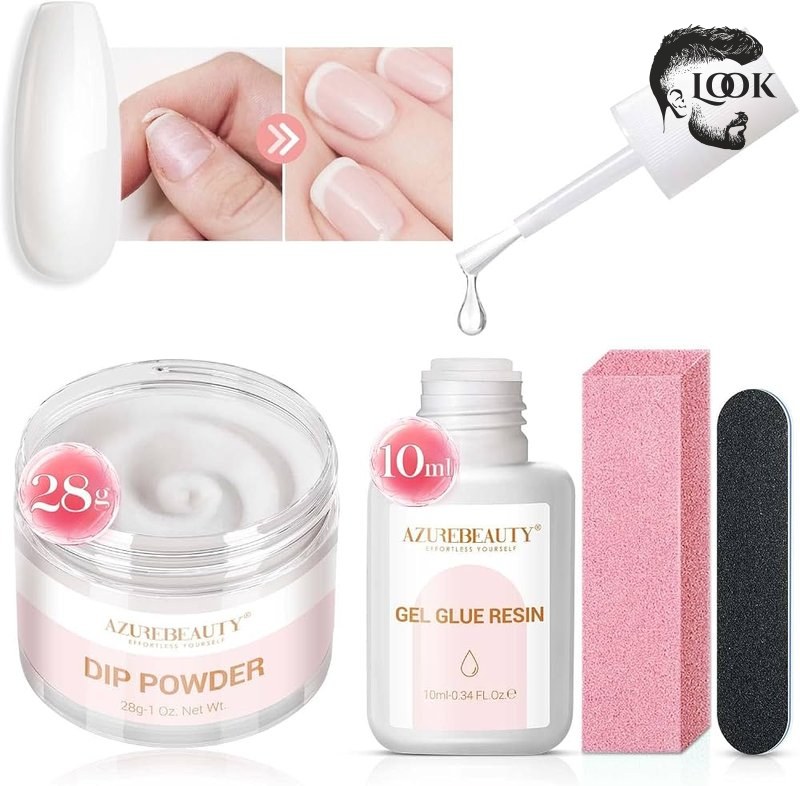
The application of dip powder creates a slightly thicker, more textured surface compared to traditional gel or regular polish. This unique characteristic means that a standard nail file or buffer might not be adequate to achieve the desired smoothness and shape. A specialized nail buffer for dip powder is designed with grits that are effective at gently yet thoroughly refining the hardened powder layers without causing damage or lifting. Using the correct buffer ensures longevity and a professional appearance for your manicure.
Proper buffing helps to seamlessly blend the dip powder layers, creating an even canvas for your top coat. Without this crucial step, you might end up with an uneven, bumpy, or dull finish, which diminishes the overall appeal and durability of your dip powder nails. The right buffer also helps in contouring the nail shape and refining the cuticle area, preventing any snagging or rough edges. It’s an investment that pays off in the quality and lifespan of your beautiful dip powder manicure.
Understanding Nail Buffer Grits for Dip Powder
Nail buffer grits are crucial in determining how effectively and gently you can shape and smooth your dip powder nails. Grits are rated by numbers, where lower numbers indicate a coarser texture, and higher numbers represent a finer, smoother surface. For dip powder applications, a range of grits is typically recommended to progress from shaping to a high-shine finish.
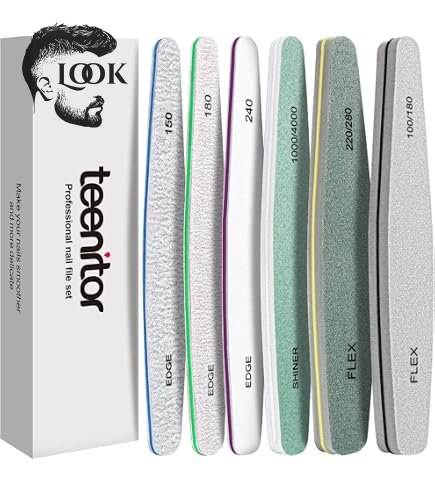
Initially, after applying the dip powder layers, you’ll need a medium-coarse grit (around 100-180) to file down any excess product, refine the shape, and eliminate major bumps or unevenness. This step is vital for creating a uniform foundation. Following this, a finer grit buffer (around 240-600) is used to smooth out any filing marks and further refine the surface, preparing it for activation and top coat application. Finally, for an ultimate shine, an even finer grit (600-3000+) can be used to polish the nail surface, bringing out a glossy finish.
Types of Buffers Ideal for Dip Powder Nails
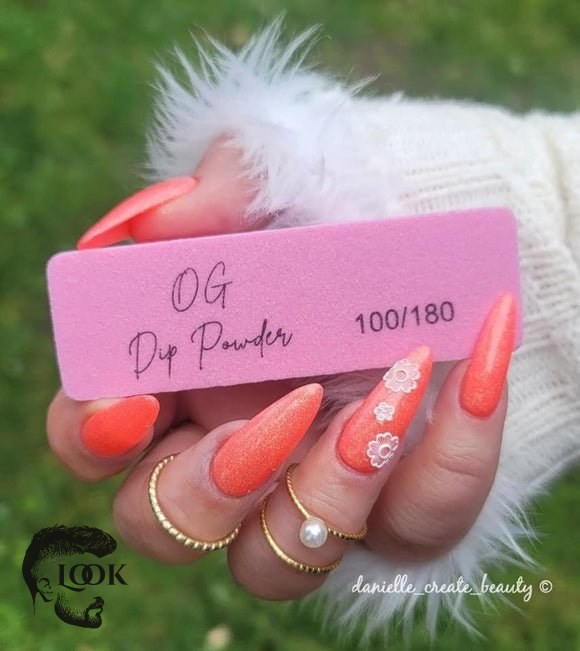
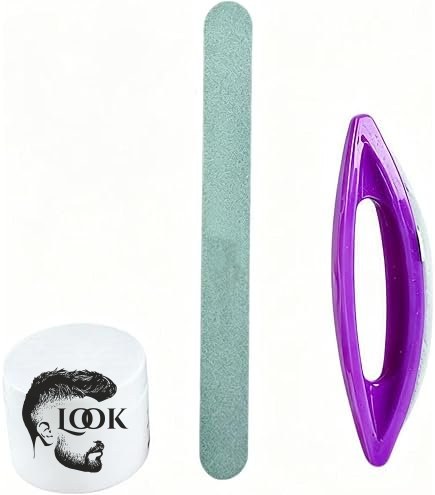
When selecting a nail buffer for dip powder, you’ll encounter several types, each offering unique benefits for achieving a smooth finish. Block buffers are popular due to their ergonomic design, making them easy to hold and maneuver. They often feature multiple grit surfaces on different sides, allowing you to transition from shaping to shining with a single tool.
Another excellent option is the padded file buffer, which combines the flexibility of a traditional nail file with a cushioned core. This design helps to prevent over-filing and allows for a more controlled buffing experience, especially around the delicate cuticle area. Electric nail drills, equipped with various buffing bits, are also favored by professionals for their efficiency and precision in quickly smoothing dip powder surfaces. While these offer speed, manual buffers are often preferred for their gentler approach and suitability for at-home use, minimizing the risk of damage.
Essential Tips for Buffing Dip Powder Nails
Achieving a perfectly smooth finish with dip powder nails requires more than just the right tools; it demands proper technique. After applying your dip powder layers and activator, the buffing process is critical to remove any ridges, create an even surface, and prepare your nails for the top coat. Starting with a coarser grit buffer (like a 100/180) is essential for shaping and reducing bulk. Always buff in one direction to avoid weakening the nail structure or creating new imperfections.
Once the initial shaping is complete, switch to a finer grit buffer (such as a 240/600) to smooth out any remaining texture and fine lines from the previous buffing. This step is crucial for an impeccable, glass-like finish. Pay close attention to the cuticle area and sidewalls to ensure a seamless transition and prevent lifting. Remember to wipe off any dust between each buffing stage to get a clear view of your progress and ensure a truly smooth surface.
Proper Techniques for Smooth Dip Powder Nails
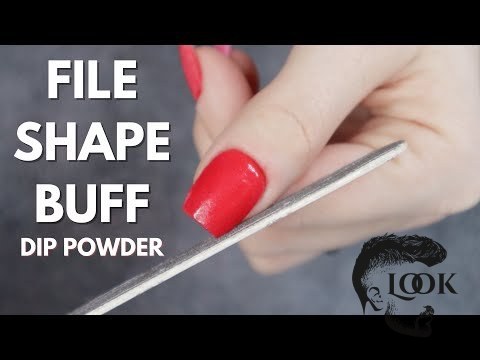
Mastering the art of buffing dip powder nails is key to achieving that salon-quality, smooth finish. Begin by gently filing the nail surface with a medium-grit buffer, such as a 100 or 180 grit, immediately after applying the activator and allowing it to cure. Focus on removing any high points or unevenness that developed during the dipping process. It’s important to use light, even pressure and buff in long, sweeping motions rather than harsh back-and-forth strokes.
After achieving the desired shape and smoothness, switch to a finer grit buffer, typically a 240 or 320 grit. This step helps to erase any remaining filing marks and further refines the surface, creating a perfectly smooth canvas for your top coat. Be sure to pay close attention to the edges and around the cuticle area, ensuring all areas are evenly buffed. Once you’re satisfied with the smoothness, gently brush off any dust and apply your top coat for a brilliant, long-lasting shine.
When to Buff Dip Powder Nails for Optimal Results
Timing is everything when it comes to buffing your dip powder nails for optimal results. The best time to use your nail buffer for dip powder is after you have applied all layers of dip powder and, most importantly, after the activator has been applied and fully cured. The activator hardens the powder, making it durable and ready for shaping and smoothing. Buffing before the activator is fully cured can result in a messy and less effective process.
Allowing sufficient time for the activator to dry and cure, usually about 1-2 minutes, ensures that the dip powder is hard enough to be shaped precisely without flaking or smudging. Buffing at this stage allows you to correct any imperfections, refine the nail shape, and create a smooth, even surface that will beautifully receive your top coat. Skipping or rushing this step can lead to an uneven finish and compromised longevity of your dip powder manicure.
Maintaining Your Nail Buffers and Dip Powder Manicure
Proper maintenance of your nail buffers is essential for their longevity and continued effectiveness. After each use, it’s a good practice to clean your buffers to remove any residue from dip powder and nail dust. This can be done by gently tapping them to dislodge loose particles, or for a deeper clean, you can lightly brush them with a soft brush and a mild soap solution. Always ensure your buffers are completely dry before storing them to prevent the growth of bacteria.
Beyond buffer care, maintaining your dip powder manicure itself is crucial for its durability and shine. Regularly moisturizing your cuticles and hands helps to keep the nails flexible and prevents chipping. Avoid using your nails as tools to prevent unnecessary stress on the dip powder. If you notice any lifting or chipping, addressing it promptly can prevent further damage. With good habits and the right tools, your dip powder manicure can last beautifully for weeks.
Cleaning and Storing Your Nail Buffers
Properly cleaning and storing your nail buffers will extend their lifespan and ensure they are always ready for your next dip powder manicure. After each use, gently tap the buffer to remove any loose dip powder dust. For a more thorough cleaning, especially if you use your buffers frequently, you can lightly scrub them with a soft brush, mild soap, and warm water. It’s crucial to let them air dry completely before storing them, as moisture can lead to bacterial growth and degrade the buffer’s material.
Store your buffers in a clean, dry place, away from direct sunlight and humidity. A dedicated nail tool organizer or a small, breathable bag works well. Keeping them separate from other items helps to protect their abrasive surfaces from damage and keeps them hygienic. Regularly inspecting your buffers for wear and tear is also important; if the grit starts to feel less effective or the buffer becomes visibly damaged, it’s time to replace it to maintain the quality of your dip powder applications.
Extending the Life of Your Dip Powder Manicure
To truly get the most out of your beautiful dip powder manicure, extending its life requires a few simple yet effective practices. One of the most important steps is ensuring your nails are properly prepped before the dip powder application, including thorough cleaning, shaping, and using a high-quality nail buffer for dip powder to create a smooth base. A well-prepared nail bed allows for better adhesion and less chance of lifting.
After your manicure is complete, regularly applying cuticle oil is a game-changer. This keeps your cuticles hydrated and flexible, preventing the dip powder from drying out and cracking around the edges. Wearing gloves while doing household chores or washing dishes also offers significant protection, shielding your nails from harsh chemicals and excessive moisture that can weaken the dip powder bond. Finally, avoid picking or biting your nails, as this can easily chip or lift the dip powder, shortening its lifespan.
Comparing Popular Nail Buffer Brands for Dip Powder
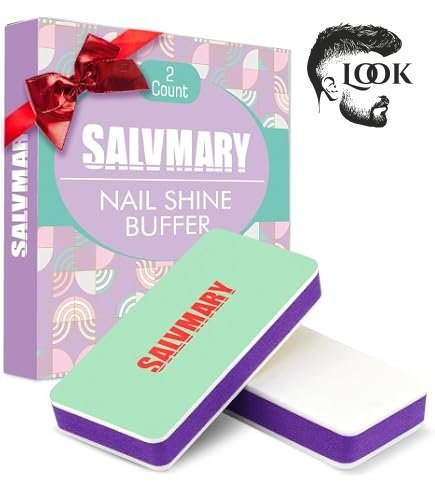
Choosing the right brand for your nail buffer for dip powder can significantly impact the quality and ease of your at-home manicure. Many brands offer specialized buffers designed to cater to the unique needs of dip powder, focusing on durability, effective grit levels, and ergonomic designs. When comparing, consider the grit range offered by each buffer – a good dip powder buffer usually has multiple sides with varying grits, from a coarser side for shaping to a finer side for polishing.
Durability is another key factor. Some buffers wear out quickly, especially with the tough nature of dip powder. Look for brands known for long-lasting materials and consistent performance. Customer reviews can be incredibly insightful, providing real-world feedback on how well a buffer stands up to repeated use. Price point is also a consideration; while some premium brands might be more expensive, their longevity and effectiveness often justify the investment, saving you money in the long run by preventing frequent replacements.
| Brand | Recommended Grit Range | Key Features | Price Range (approx.) |
|---|---|---|---|
| Dipwell | 100/180, 240/600 | Durable, multi-sided, ergonomic design | $5 – $15 |
| Revel Nail | 120, 180, 240 | Known for brilliant shine, gentle on nails | $4 – $12 |
| Peppi Gel | 180, 240 | Long-lasting, great for smooth finish | $6 – $15 |
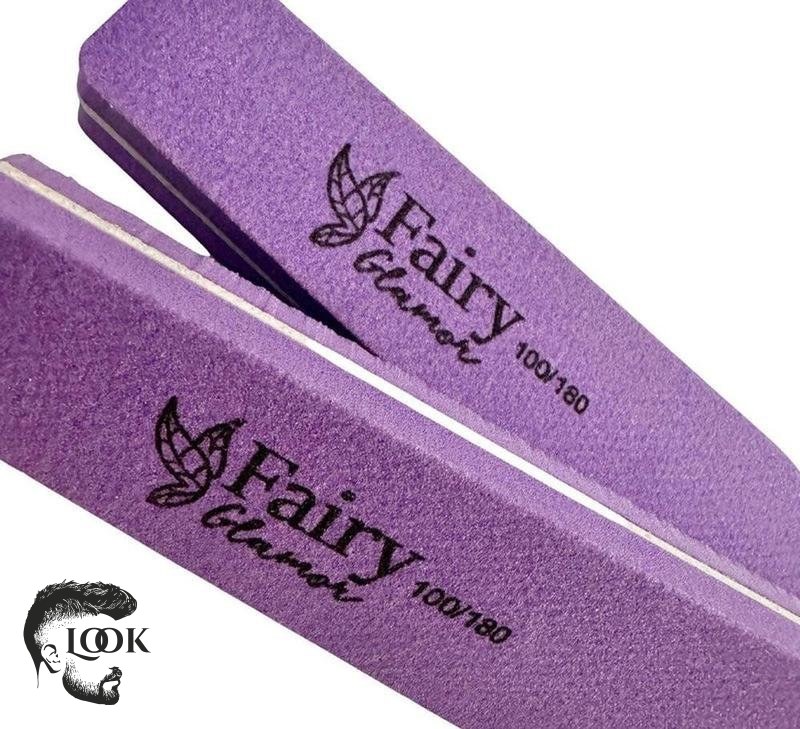
| Fairy Glamor | 100/180, 240/320 | Multi-pack options, versatile grits | $8 – $20 |
Top-Rated Nail Buffer Sets for Dip Powder
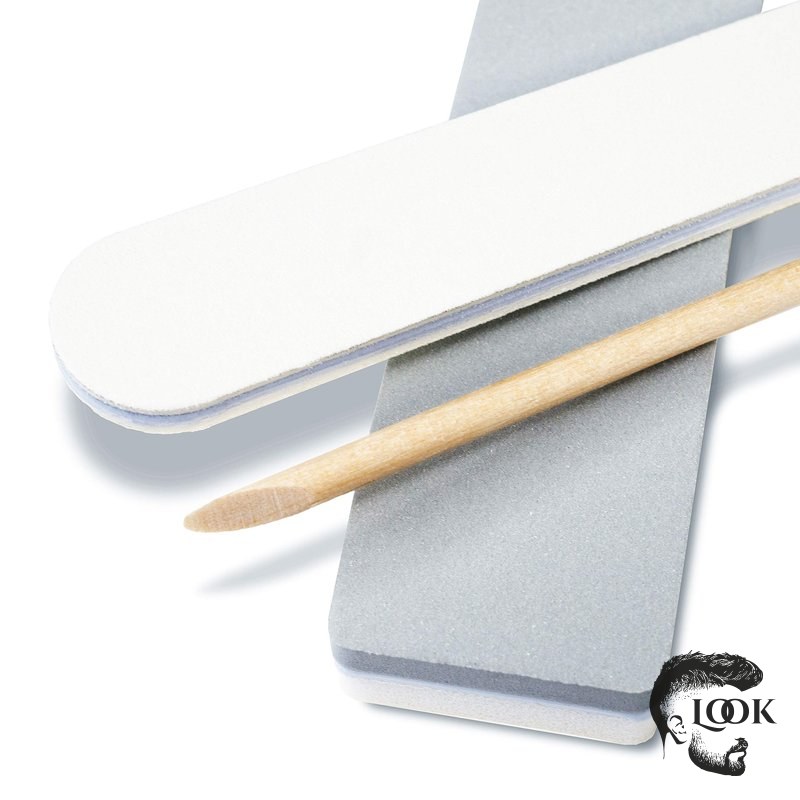
When searching for the perfect nail buffer for dip powder, top-rated sets often provide a comprehensive solution, bundling various grits and tools for a complete at-home manicure. Brands like Dipwell, Revel Nail, and Peppi Gel are frequently highlighted for their effective and durable buffer sets. These sets typically include buffers with different grit levels, allowing you to seamlessly transition from shaping the initial dip powder layers to achieving a high-gloss finish.
Many highly-rated sets feature block buffers, which are easy to grip and offer multiple abrasive surfaces on each side. Some may also include finer grit polishing blocks or even electric buffer attachments for those seeking a professional-grade finish. The convenience of having all the necessary buffing tools in one package simplifies the process and ensures you have the right grit for every stage of your dip powder application. Investing in a well-regarded set can significantly elevate your dip powder manicure experience.
What to Look for in a Quality Dip Powder Buffer
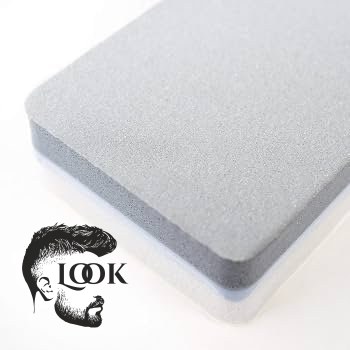
When investing in a quality nail buffer for dip powder, several key features distinguish the best products from the rest. First and foremost, consider the grit range. An ideal buffer should offer at least two sides with different grits: a medium-coarse grit (around 100-180) for initial shaping and reducing bulk, and a finer grit (240-600) for smoothing and refining. This versatility is crucial for achieving a professional finish.
Durability is another critical factor. Dip powder can be quite abrasive, so you’ll want a buffer made from sturdy, long-lasting materials that won’t wear down quickly. Look for buffers with a strong core and high-quality abrasive surfaces that maintain their effectiveness over multiple uses. Lastly, ergonomic design is important for comfortable and controlled handling, especially during extended buffing sessions. A comfortable grip helps prevent hand fatigue and ensures more precise application.
Frequently Asked Questions About Nail Buffers for Dip Powder
What grit buffer should I use for dip powder?
For dip powder, start with a 100/180 grit buffer for initial shaping and smoothing, then switch to a finer 240/320 grit buffer to refine the surface and remove any scratches before applying the top coat.
Can I use a regular nail file instead of a buffer for dip powder?
While a regular nail file can be used for initial shaping, a dedicated nail buffer for dip powder is recommended for smoothing the surface because its cushioned design and specific grits help achieve a flawless, even finish without harsh lines.
How often should I buff my dip powder nails?
You should buff your dip powder nails once during the initial application process, after the activator has cured and before applying the top coat, to ensure a smooth, even surface. Avoid excessive buffing, which can thin the layers.
How do I clean my nail buffer after using it with dip powder?
After using your nail buffer for dip powder, gently tap it to remove loose dust. For a deeper clean, you can lightly scrub it with a soft brush and mild soap, then rinse and air dry completely before storing to maintain hygiene and effectiveness.
Why do my dip powder nails look bumpy after buffing?
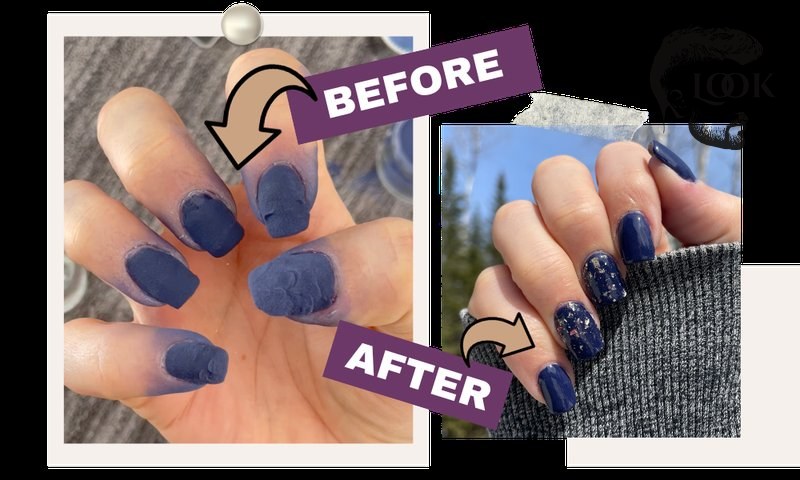
If your dip powder nails still look bumpy after buffing, it might be due to insufficient buffing time, using a buffer that isn’t abrasive enough, or uneven application of the dip powder itself. Ensure even pressure and gradually move to finer grits for a smoother finish.
Final Thoughts on Choosing and Using a Nail Buffer for Dip Powder
Selecting and properly using a nail buffer for dip powder is undeniably a cornerstone of achieving a stunning, long-lasting manicure. Throughout this article, we’ve explored why a specialized buffer is crucial for the unique texture of dip powder, the importance of understanding grit levels, and essential techniques for a smooth finish. From the initial shaping to the final polish, the right tools and methods can elevate your dip powder experience from amateur to salon-quality.
We hope this comprehensive guide has empowered you with the knowledge needed to choose the best nail buffer for dip powder and apply it effectively. Remember that proper technique, combined with suitable tools, will always yield the best results for your nails. For more expert advice and to explore our range of nail care products and services, we invite you to visit Barberia Peluquería Look Madrid. Let us help you achieve flawless nails every time!