Welcome to a comprehensive guide from Barberia Peluquería Look Madrid, where we delve into the popular and durable world of dip powder nails with tips. Dip powder nails with tips offer a fantastic way to extend your natural nail length and achieve a flawless, long-lasting manicure without the need for UV light curing. This method combines the strength and resilience of dip powder with the instant length provided by artificial tips, resulting in a beautiful and robust nail enhancement. Whether you are new to the world of DIY nails or looking to refine your technique, this article will walk you through everything you need to know about creating stunning dip powder nails with tips right in the comfort of your own home.
Many people are turning to dip powder systems because of their ease of use and impressive durability. When combined with tips, you can instantly transform short or brittle nails into elegant, extended masterpieces. We’ll cover the essential tools, a detailed step-by-step application process, and valuable tips for maintaining your beautiful new manicure. Let’s get started on your journey to perfect dip powder nails with tips!
Understanding the benefits of dip powder nails with tips
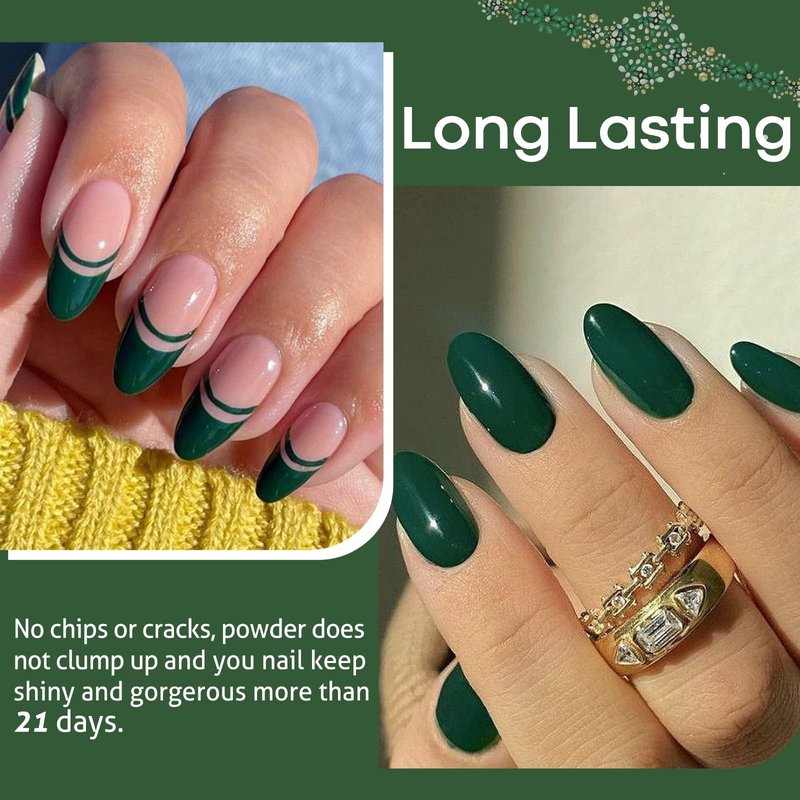
Dip powder nails with tips offer a multitude of advantages that make them a preferred choice for many nail enthusiasts. One of the primary benefits is their exceptional durability. Unlike traditional nail polish, dip powder can last for weeks without chipping or peeling, making it an excellent option for those with busy lifestyles. This longevity means fewer trips to the salon and more time enjoying your perfectly manicured hands. The combination of the sturdy dip powder and the robust tips creates a barrier that protects your natural nails from everyday wear and tear, promoting healthier growth underneath.
Another significant benefit is the ease of application, especially when compared to gel or acrylic systems. Dip powder does not require a UV or LED lamp to cure, which eliminates a common concern for many users regarding UV exposure. The process involves applying a base coat, dipping your nail into a colored powder, and then sealing it with an activator and top coat. When adding tips, you simply extend the length before beginning the dip process, allowing for instant gratification and a wide range of stylistic possibilities. This makes dip powder nails with tips an accessible option for both beginners and experienced individuals looking for a reliable and beautiful manicure solution.
Essential tools for your dip powder nail application
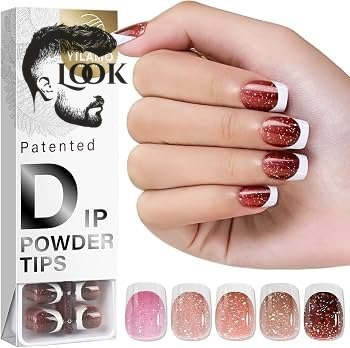
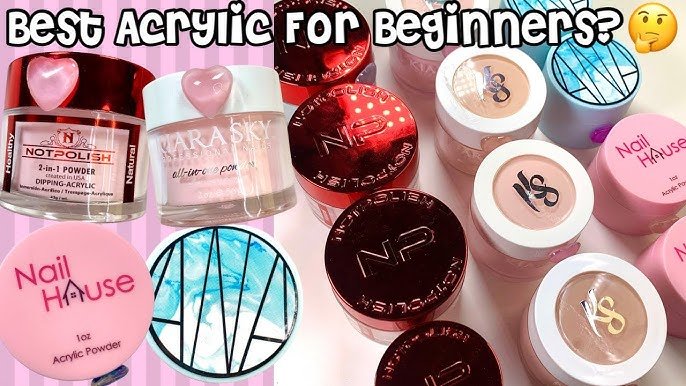
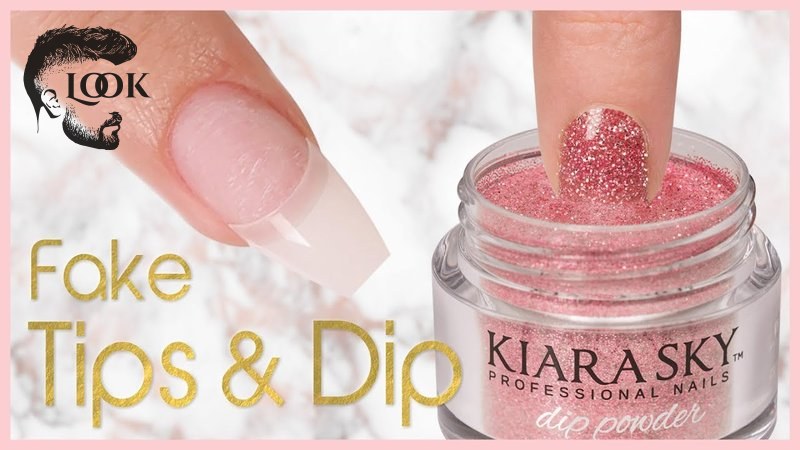
To achieve professional-looking dip powder nails with tips at home, having the right tools is paramount. Starting with a clean and organized workspace will ensure a smooth application process. You will need a complete dip powder kit, which typically includes a base coat, activator, top coat, and various colored powders. Many kits also come with a brush cleaner, which is essential for maintaining your brushes and ensuring their longevity. Having a range of dip powder colors allows for creative expression and customization, whether you prefer classic shades or vibrant, trendy hues.
In addition to the dip powder kit, you will need a selection of nail tips. These can be clear, natural, or even pre-designed with French tips, depending on your desired look. Make sure to choose tips that fit the width of your natural nails perfectly to ensure a seamless and natural-looking extension. You will also need nail glue to adhere the tips securely, a nail file and buffer for shaping and smoothing, and a cuticle pusher and nipper for proper nail preparation. Alcohol wipes or a nail dehydrator are also important for removing any oils from your natural nails, which helps the tips and dip powder adhere better. Lastly, a small dust brush is incredibly useful for brushing off excess powder between dips, preventing buildup and ensuring a clean finish for your dip powder nails with tips.
Selecting the right nail tips for your desired length and shape
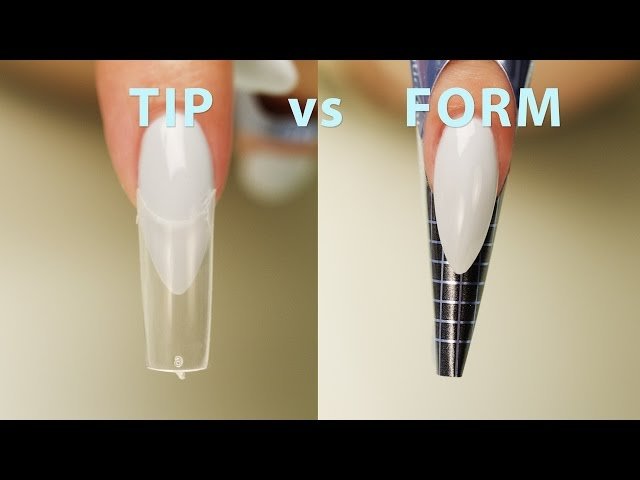
Choosing the correct nail tips is a critical step in achieving flawless dip powder nails with tips. The market offers a wide variety of nail tips, differing in material, shape, and length. You can find tips made from ABS plastic, which are durable and flexible, or those pre-sculpted for specific shapes like coffin, stiletto, or square. Consider the natural shape of your nail bed and your personal style preference when making your selection. If you prefer a more natural look, opt for tips that closely mimic the curve of your own nails. For a dramatic effect, longer and more pronounced shapes can be chosen.
Proper sizing is equally important; each tip should fit snugly from sidewall to sidewall of your natural nail without overlap or gaps. If a tip is too small, it can create pressure points and lift, while a tip that’s too large will look unnatural and may not adhere properly. Many brands offer assortments with multiple sizes, allowing you to find the perfect fit for each finger. Take your time during this selection process, as it lays the foundation for beautiful and long-lasting dip powder nails with tips. A well-fitted tip not only looks better but also contributes significantly to the overall durability and comfort of your manicure.
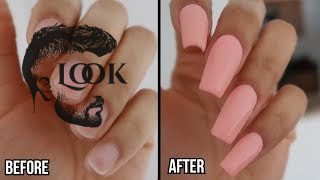
Understanding the different types of dip powder formulas
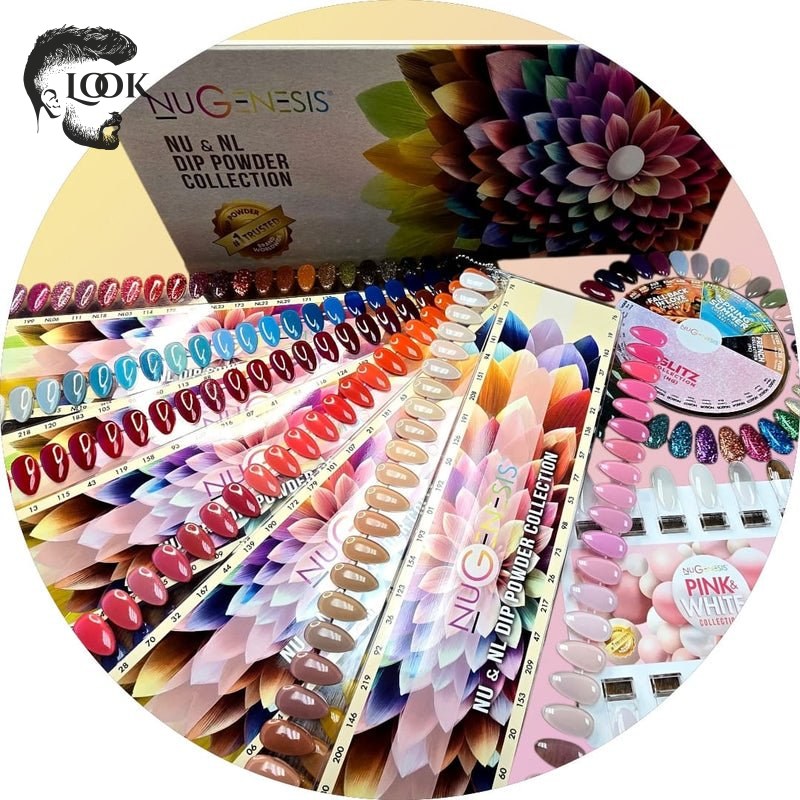
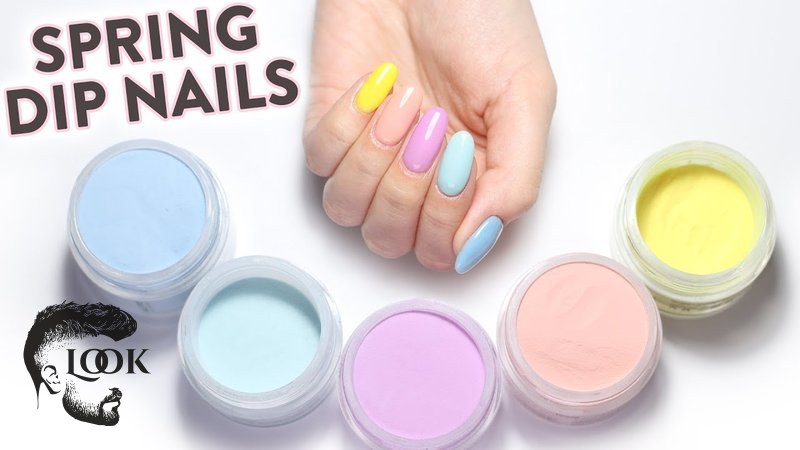
Dip powder formulas vary, offering different finishes and properties that can enhance your dip powder nails with tips. The most common types include colored powders, clear powders, and glitter powders. Colored powders are the workhorse of any dip manicure, providing vibrant hues and opaque coverage. They come in an endless array of shades, allowing you to match any outfit or occasion. Clear powder is often used as a base layer over the tip to add extra strength and protect the color layers, or as a final protective layer to encapsulate glitters or designs.
Glitter powders are perfect for adding sparkle and dimension to your manicure, ranging from fine shimmers to chunky flakes. Beyond these basic types, some brands offer specialty powders like thermochromic (color-changing with temperature) or glow-in-the-dark powders for a unique twist. Understanding these variations allows you to customize your dip powder nails with tips, experimenting with different textures and effects. Always ensure that the dip powder system you choose is compatible, meaning the base, activator, and top coat are designed to work together for optimal adhesion and longevity. This synergy is key to achieving a flawless and durable manicure.
Step-by-step application for dip powder nails with tips
Applying dip powder nails with tips at home can be a rewarding experience, leading to salon-quality results with a little practice. The key is to follow each step carefully and patiently. Start by preparing your natural nails: push back and trim your cuticles, then lightly buff the nail surface to create a texture that helps the adhesive bond better. After preparation, clean your nails thoroughly with an alcohol wipe to remove any oils or dust. This initial cleanliness is crucial for preventing lifting and ensuring the longevity of your dip powder nails with tips.
Once your nails are prepped, it’s time to apply the tips. Select the correct size for each finger, ensuring a perfect fit from sidewall to sidewall. Apply a small amount of nail glue to the well of the tip or directly to your natural nail where the tip will be placed. Gently press the tip onto your nail, holding it firmly for 10-15 seconds until it’s securely bonded. Once all tips are applied, trim and shape them to your desired length and style using a nail file. Lightly buff the surface of the entire nail (both natural and tip) to ensure a smooth, even canvas for the dip powder. This blending step makes the transition from your natural nail to the tip virtually invisible, creating a professional and polished foundation for your dip powder nails with tips.
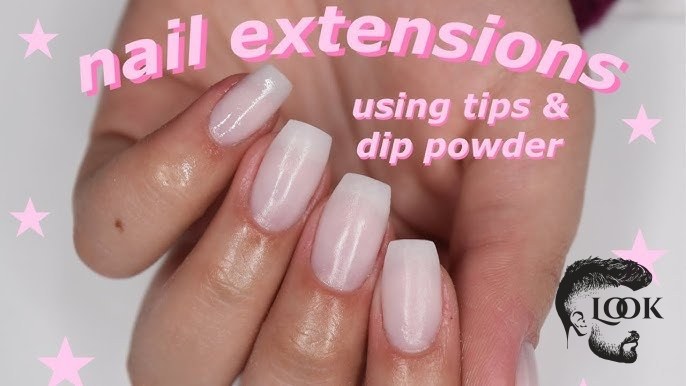
Preparing your natural nails for extension tips
Proper nail preparation is the cornerstone of any successful manicure, especially when applying dip powder nails with tips. Begin by gently pushing back your cuticles using a cuticle pusher. If necessary, carefully trim any excess cuticle skin with a nipper, being mindful not to cut too much, which can lead to discomfort or infection. Next, lightly buff the surface of your natural nails with a fine-grit buffer. This creates a slightly rough texture, allowing the nail glue and dip powder base to adhere more effectively. Avoid over-buffing, as this can thin and weaken your natural nails.
After buffing, thoroughly clean your nails to remove any dust, oils, or residues. An alcohol wipe or a specialized nail dehydrator works wonders for this step, ensuring a clean and dry canvas. This meticulous preparation prevents lifting and promotes maximum adhesion, ensuring your dip powder nails with tips last as long as possible. A well-prepared nail bed not only enhances the durability but also contributes to the overall aesthetic of your finished manicure, making the tips and dip powder blend seamlessly.
Applying the nail tips and shaping them to perfection
Once your natural nails are prepped, it’s time to apply the nail tips, which is a crucial step for achieving the desired length and shape for your dip powder nails with tips. Select a tip that fits perfectly from sidewall to sidewall of your natural nail, ensuring there are no gaps or overhangs. Apply a small bead of nail glue to the “well” of the tip, or directly to the free edge of your natural nail where the tip will be placed. Carefully align the tip with your nail and gently press it down, holding it for about 10-15 seconds to allow the glue to bond securely.
After all tips are firmly in place, you can begin the shaping process. Use a nail clipper to trim the tips to your preferred length, and then use a nail file (100/180 grit is ideal) to refine the shape. File gently to create a smooth, symmetrical outline, whether you prefer square, oval, coffin, or almond. Once the desired shape is achieved, lightly buff the entire surface of the extended nail, including the blend line where the tip meets your natural nail. This step creates a seamless transition and a smooth foundation for the dip powder, making your dip powder nails with tips look professional and natural.
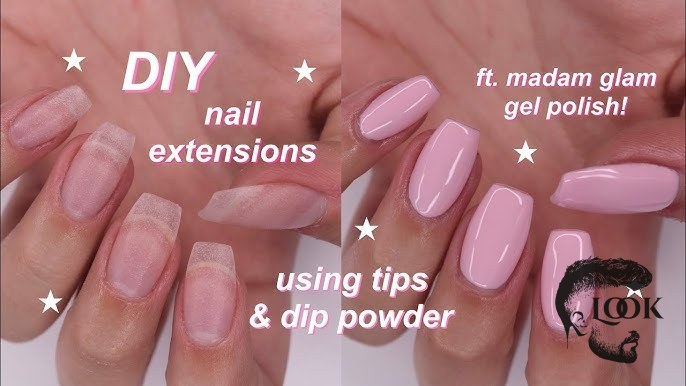
The dipping process: base, powder, activator, and top coat
The dipping process is where the magic happens for your dip powder nails with tips, transforming them into a durable and vibrant manicure. Start by applying a thin, even layer of the dip powder base coat to three-quarters of your nail, leaving a small margin around the cuticle. Quickly dip your entire nail into the clear or desired colored powder, ensuring full coverage. Gently tap off any excess powder and wait a few seconds for the base coat to absorb the powder. Repeat this process for all nails.
For the second coat, apply the base coat closer to the cuticle, leaving a hairline gap. Dip your nail into the powder again, tap off excess, and repeat for all nails. You can apply a third coat if you desire more opacity or strength. After the final dip, apply a generous layer of the activator to all nails. The activator cures the powder, hardening it and preparing it for filing and the top coat. Once the activator has dried completely, gently file and buff your nails to achieve a smooth, even surface. Finally, apply two thin layers of the dip powder top coat, allowing each layer to dry thoroughly. The top coat will provide a glossy finish and seal everything in, completing your stunning dip powder nails with tips.
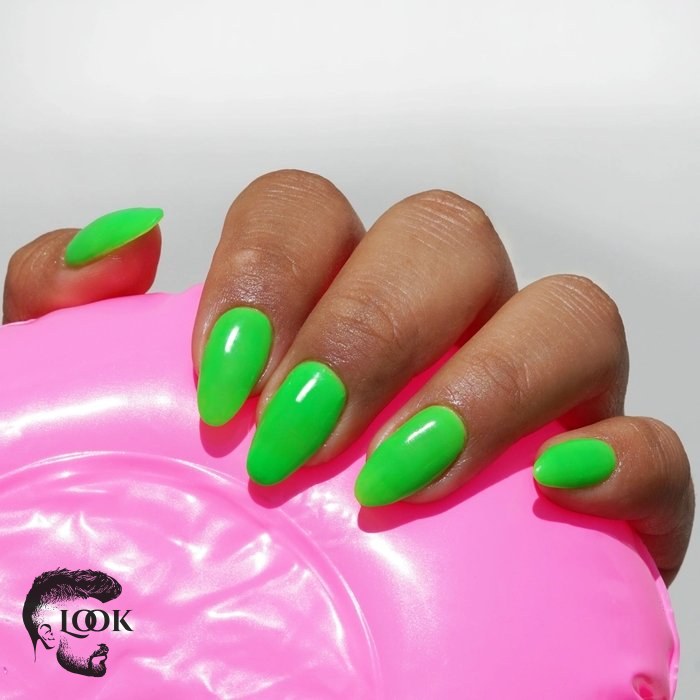
Maintaining your dip powder nails with tips
Maintaining your dip powder nails with tips is crucial for extending their wear and keeping them looking fresh and beautiful. Once your manicure is complete, proper aftercare will prevent premature lifting, chipping, and dullness. One of the most important aspects of maintenance is moisturizing your cuticles daily with cuticle oil. This keeps the skin around your nails hydrated and healthy, which in turn helps to prevent the dip powder from lifting at the edges. Dry cuticles can pull on the dip powder, creating tiny gaps where moisture can seep in, leading to problems.
Additionally, it’s wise to wear gloves when doing household chores, gardening, or any activity that involves prolonged exposure to water or harsh chemicals. These elements can degrade the dip powder and cause damage. Avoiding using your nails as tools (e.g., prying open cans) will also significantly prolong their life and prevent breakage. When it’s time for removal, always opt for a gentle soak-off method rather than picking or peeling, which can severely damage your natural nails. By following these simple maintenance tips, your dip powder nails with tips will remain immaculate for weeks, allowing you to enjoy their beauty and durability to the fullest.
Tips for extending the life of your dip powder manicure
Extending the life of your dip powder nails with tips involves a few simple yet effective habits. Firstly, consistency in applying cuticle oil is paramount. Dry cuticles are a leading cause of lifting, so nourishing them daily will keep your manicure looking pristine. Secondly, be mindful of how you use your hands. Treat your nails like jewels, not tools. Avoid excessive picking, prying, or using your nails to open things, as this can cause chips or breaks. These actions put unnecessary stress on the dip powder and tips, compromising their integrity.
Consider wearing gloves when performing tasks that involve water, such as washing dishes, or when handling cleaning products. Harsh chemicals and prolonged water exposure can weaken the bond of the dip powder and reduce its longevity. If you notice any minor chips or dullness, a clear top coat specifically designed for dip powder can be applied to refresh the shine and add an extra layer of protection. By incorporating these practices into your routine, you can significantly prolong the life and beauty of your dip powder nails with tips, ensuring they look salon-fresh for as long as possible.
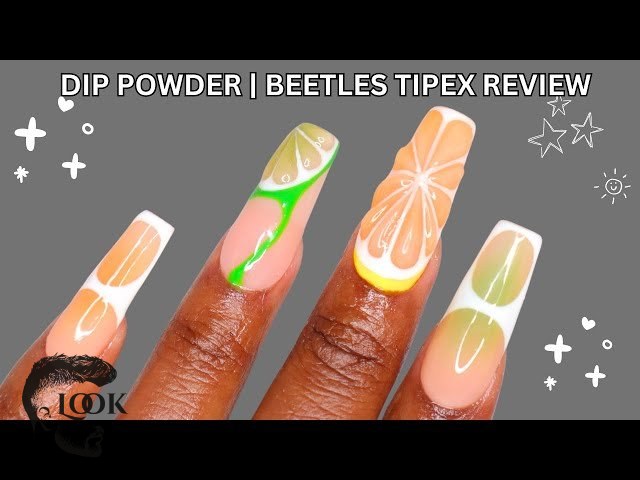
Proper removal methods for dip powder nails with tips
Proper removal of dip powder nails with tips is just as important as the application process to ensure the health of your natural nails. Never pick or peel off your dip powder, as this can cause significant damage to the nail plate, leading to thinning and weakness. The safest and most effective method is the soak-off technique. Begin by gently filing off the top layer of the dip powder with a coarse nail file (around 100 grit). This helps to break the seal of the top coat, allowing the acetone to penetrate more easily.
Next, saturate cotton balls with 100% pure acetone. Place a saturated cotton ball on each nail and wrap your fingertips tightly with aluminum foil. Alternatively, you can use specialized soak-off clips. Allow your nails to soak for 15-20 minutes. After soaking, the dip powder should be soft and crumbly. Gently scrape off the softened product with a wooden cuticle stick or an orange stick. If any product remains, repeat the soaking process for another 5-10 minutes. Once all the dip powder is removed, lightly buff your natural nails and apply cuticle oil to rehydrate and nourish them. This careful removal process ensures your natural nails remain strong and healthy, ready for your next beautiful set of dip powder nails with tips.
Comparing dip powder nails with tips to other nail extensions
When considering nail extensions, it’s helpful to compare dip powder nails with tips to other popular options like acrylics and gel nails. Each method offers distinct advantages and disadvantages, catering to different preferences and needs. Dip powder nails with tips stand out for their durability and ease of application without UV light. They are often less damaging to natural nails during removal compared to improperly removed acrylics, and they typically last just as long, often up to 3-4 weeks without chipping.
Acrylic nails, on the other hand, are renowned for their extreme strength and versatility in creating intricate 3D designs. However, they require a monomer liquid and polymer powder, which can have a strong odor, and often need professional application due to the rapid curing process. Gel nails, both soft gel (gel polish) and hard gel (builder gel), offer flexibility and a natural look. They require UV or LED light for curing and can be durable, but hard gel can be challenging to remove at home, usually requiring filing rather than soaking. Understanding these differences can help you make an informed decision about which nail extension method best suits your lifestyle and nail health goals, ensuring you choose the ideal option for your desired look and longevity.
| Feature | Dip Powder Nails with Tips | Acrylic Nails | Gel Nails (Hard Gel) |
|---|---|---|---|
| Application Process | Base coat, dip powder, activator, top coat. Easy DIY. | Monomer liquid and polymer powder application, air dries. Strong odor. | Builder gel application, cures with UV/LED light. |
| UV/LED Light Needed | No | No | Yes |
| Durability | High (3-4 weeks), resistant to chipping. | Very High (3-4 weeks), extremely strong. | High (3-4 weeks), flexible. |
| Removal Method | Soak-off with acetone. Gentle on natural nails. | Soak-off with acetone (can be difficult if thick). | Filing off required. |
| Odor During Application | Minimal to none. | Strong chemical odor. | Minimal. |
| Damage to Natural Nails | Minimal if removed correctly. | Can be significant if improperly removed. | Minimal if removed correctly. |
| Flexibility | Good, less rigid than acrylics. | Very rigid. | Flexible, more natural feel. |
Advantages of dip powder nails over traditional acrylics
Dip powder nails offer several distinct advantages over traditional acrylics, making them a popular choice for many seeking nail extensions. One of the most significant benefits is the lack of a strong odor during application. Acrylics use a monomer liquid that can emit a potent chemical smell, which can be unpleasant for both the technician and the client. Dip powder systems, on the other hand, are virtually odorless, providing a more pleasant experience, especially for at-home users or those sensitive to strong scents.
Another key advantage is the application process itself. Dip powder nails with tips do not require UV or LED light to cure, unlike gel systems. This simplifies the process and eliminates concerns about UV exposure. The application is often seen as more straightforward for beginners, involving simple dipping and sealing steps. While both methods offer impressive durability, many find dip powder to be less prone to lifting and chipping when properly applied, offering a long-lasting and resilient manicure. Furthermore, the removal process for dip powder is typically gentler on natural nails, involving a soak-off method with acetone that causes less trauma than aggressive filing often associated with acrylic removal, contributing to healthier natural nails over time.
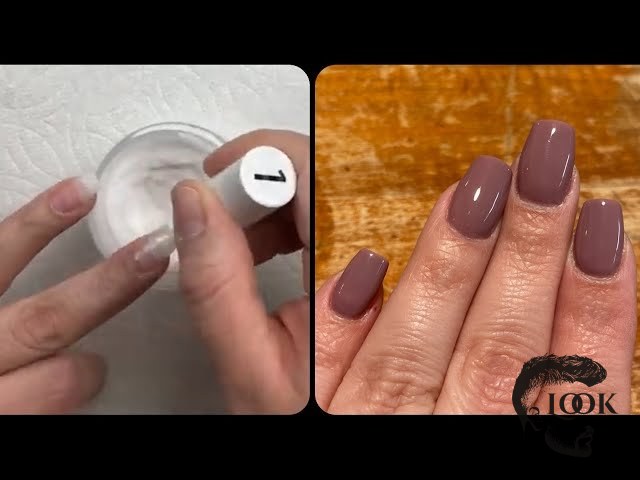
Why gel nails might not be the best choice for extensions
While gel nails offer a beautiful and flexible finish, they might not always be the best choice for extensions, particularly when compared to dip powder nails with tips. One primary reason is the requirement for UV or LED light curing. This adds an extra step and investment in equipment that not everyone wants, and some individuals have concerns about prolonged exposure to UV light. Furthermore, the curing process can sometimes lead to a “heat spike,” a temporary burning sensation as the gel cures, which can be uncomfortable for sensitive nail beds.
Another consideration is the removal process for hard gel extensions. Unlike dip powder, which can be soaked off with acetone, hard gel often requires extensive filing. This can be time-consuming and, if not done carefully, can potentially damage the natural nail. While soft gels (gel polish) can be soaked off, they are typically not strong enough to create durable extensions with tips on their own. For those seeking instant length, robust durability without UV light, and a gentler removal process, dip powder nails with tips often present a more appealing and practical alternative, especially for at-home application.
Frequently asked questions about dip powder nails with tips
Can I apply dip powder nails with tips on short natural nails?
Yes, you absolutely can apply dip powder nails with tips on short natural nails. In fact, this is one of the primary reasons people choose tips. The tips instantly add length, allowing you to achieve your desired look regardless of your natural nail length. The dip powder then provides strength and color over the extension.
How long do dip powder nails with tips typically last?
Dip powder nails with tips are known for their impressive longevity. When applied correctly and properly maintained, they can typically last anywhere from 3 to 4 weeks without chipping, peeling, or lifting. Regular cuticle oil application and gentle handling can help extend their wear.
Is it possible to do dip powder nails with tips at home by myself?
Yes, it is definitely possible to do dip powder nails with tips at home. Many brands offer comprehensive DIY kits designed for beginners. With practice and by following detailed instructions, you can achieve beautiful, salon-quality results from the comfort of your own home, saving time and money.
What should I do if my dip powder nails with tips start to lift?
If your dip powder nails with tips start to lift, it’s best to address it promptly to prevent further damage. You can try to gently file away the lifted area and apply a small amount of nail glue to re-bond it, then seal with a top coat. However, for significant lifting, it’s usually better to remove the nail and reapply to avoid moisture getting trapped, which can lead to issues.
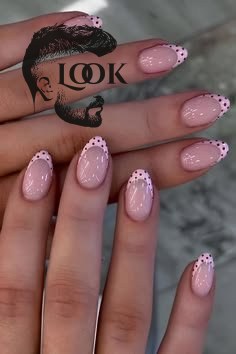
Embarking on the journey of creating beautiful dip powder nails with tips at home can be an incredibly rewarding experience. This comprehensive guide has walked you through everything from understanding the benefits and gathering essential tools to the detailed step-by-step application and crucial maintenance tips. We hope you feel confident and inspired to achieve stunning, long-lasting manicures with this versatile technique. The combination of instant length from tips and the durable, chip-resistant finish of dip powder truly makes for a winning combination, allowing you to express your style with ease and confidence.
At Barberia Peluquería Look Madrid, we believe that everyone deserves to feel glamorous and polished. By mastering dip powder nails with tips, you’re not just getting a beautiful manicure; you’re gaining a skill that offers convenience, creativity, and impressive durability. So go ahead, gather your supplies, follow these guidelines, and prepare to flaunt your perfectly manicured hands. For more beauty tips and services, be sure to visit us or explore our website!