Achieving a beautiful and durable dip powder manicure hinges entirely on meticulous nail preparation. Effective nail prep for dip powder is the foundational step that prevents lifting, chipping, and ensures a smooth, long-lasting finish. Without proper groundwork, even the highest quality dip powders will struggle to adhere, leading to frustration and a short-lived manicure. At Barberia Peluquería Look Madrid, we understand the importance of this initial stage for any nail enthusiast, whether you’re a seasoned pro or just starting your DIY dip journey. This guide will walk you through every crucial step, ensuring your nails are perfectly primed for a stunning dip powder application.
Understanding why proper nail prep is essential for dip powder
Proper nail preparation is not merely an optional step; it is the cornerstone of a successful dip powder manicure. Skipping or rushing through these vital initial stages can lead to a host of common problems, including premature lifting, chipping, and an uneven finish. The goal of nail preparation is to create an optimal surface for the dip powder to bond with, ensuring maximum adhesion and longevity. This process involves cleaning, shaping, and lightly buffing the nail plate to remove natural oils and create a slightly textured surface.
When nails are not adequately prepared, natural oils and moisture can create a barrier between the nail and the dip powder layers. This barrier prevents the dip liquids from properly soaking into the nail, resulting in weak adhesion and quick lifting. Additionally, any residue or unevenness on the nail surface can lead to a bumpy or inconsistent application, diminishing the overall aesthetic appeal of your manicure. Investing a little extra time in nail prep pays off significantly in the durability and beauty of your finished dip powder nails, allowing you to enjoy your manicure for weeks without issues.
Gathering your essential tools for nail preparation
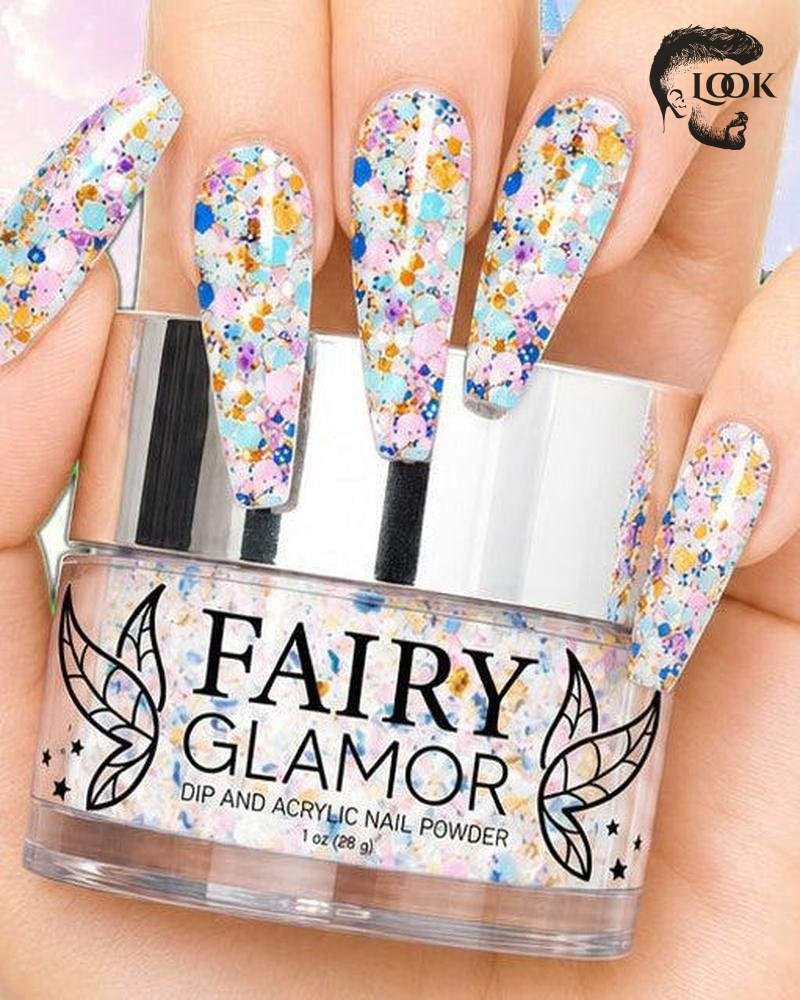
Before you begin the actual preparation, it is crucial to gather all the necessary tools. Having everything at hand will streamline the process and prevent interruptions. You will need a nail file, a cuticle pusher, cuticle nippers, a nail buffer, a lint-free wipe, rubbing alcohol or a nail dehydrator, and a nail brush. Each of these tools plays a specific role in ensuring your nails are perfectly ready for dip powder application. Using high-quality tools can also make a significant difference in the ease and effectiveness of your prep.
A good quality nail file will help you shape your nails precisely, while a metal or wooden cuticle pusher will gently push back your cuticles without causing damage. Cuticle nippers are essential for carefully trimming any excess or dead cuticle skin, though this step should be approached with caution to avoid cutting live skin. A fine-grit buffer is perfect for gently roughing the nail surface, and a nail dehydrator or rubbing alcohol will remove any lingering oils and moisture, preparing the nail for optimal adhesion. Finally, a soft nail brush is invaluable for dusting away any debris.
Step-by-step guide to preparing your nails for dip powder
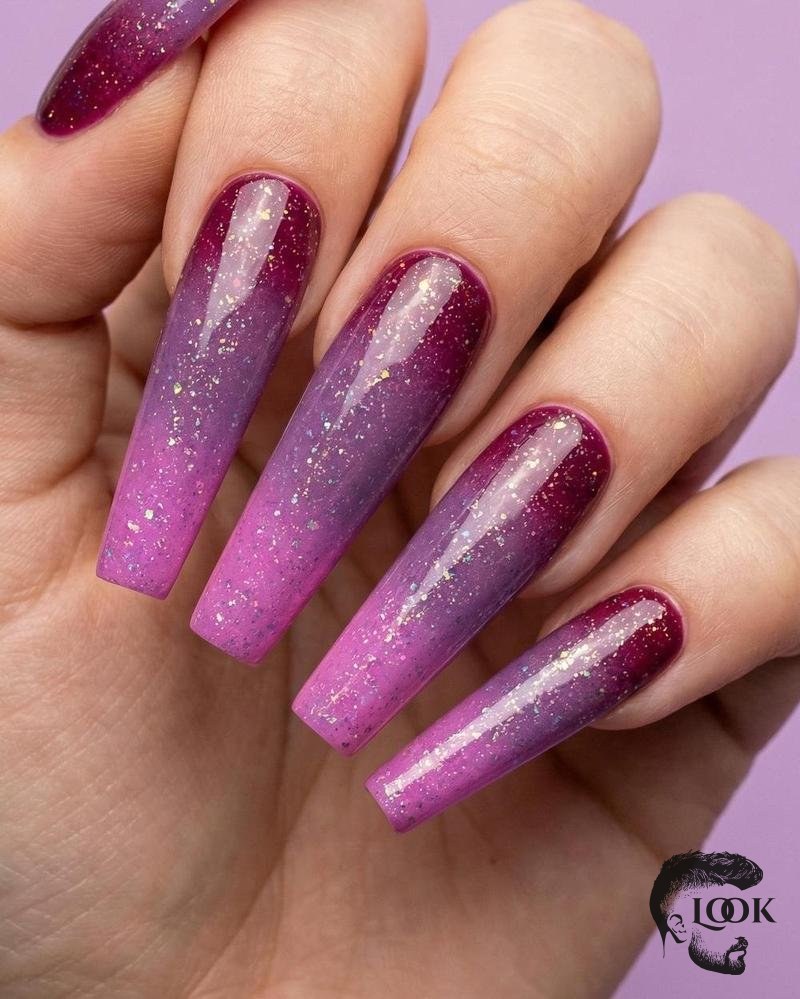
The step-by-step process of preparing your nails for dip powder is designed to maximize adhesion and longevity. Each stage builds upon the last, ensuring that by the time you apply the dip powder, your nails are in the ideal condition. This comprehensive guide covers everything from initial shaping to final dehydration, providing clear instructions to help you achieve a professional-looking result at home. Remember, patience and precision in each step will lead to a flawless manicure that lasts.
Starting with clean, dry hands is fundamental. Any lingering lotions, oils, or old polish can hinder the dip powder’s adhesion. Take your time with each step, focusing on cleanliness and careful handling of your nails. Proper technique throughout this prep process will not only give you a better-looking manicure but also help protect the health of your natural nails. Following these steps diligently will set you up for success with your dip powder application.
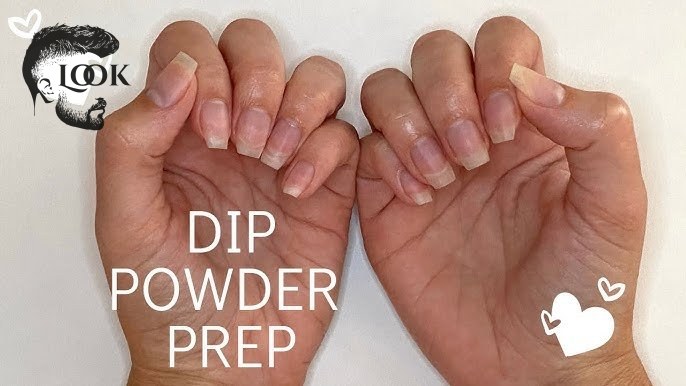
Shaping and filing your natural nails
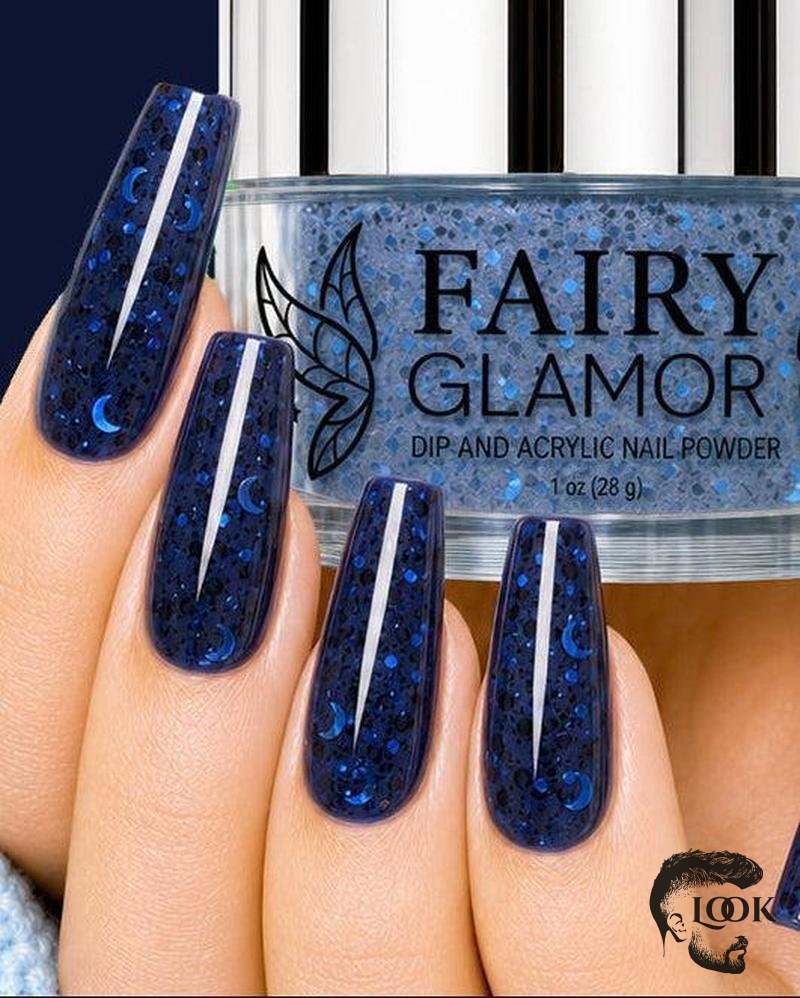
The first physical step in preparing your nails is to shape and file them. Begin by filing your nails to your desired length and shape. Whether you prefer a square, oval, almond, or coffin shape, ensure all nails are consistent. Use a gentle back-and-forth motion, or file in one direction, to avoid weakening the nail plate. After shaping, use the finer side of your file to smooth out any rough edges or snags. This creates a clean canvas for the dip powder.
Once you’ve achieved the desired shape, it’s important to pay attention to the free edge of your nails. Make sure it is smooth and free from any splitting. A well-shaped nail not only looks better but also provides a more stable base for the dip powder, reducing the chances of chipping at the tips. Proper shaping also helps in preventing snags that can lead to breakage, ensuring your manicure lasts longer and looks neat.
Pushing back and cleaning cuticles
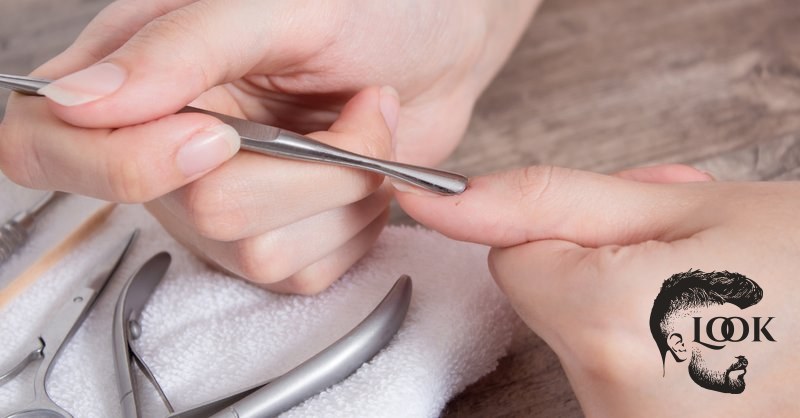
Next, gently push back your cuticles. You can apply a cuticle remover beforehand to soften them, making the process easier and safer. Using a cuticle pusher, carefully push the cuticle back towards the nail bed. Be gentle to avoid damaging the delicate skin or the nail matrix. The goal is to expose as much of the natural nail plate as possible, as dip powder should not be applied to the cuticle itself.
After pushing back the cuticles, use cuticle nippers to carefully trim any excess or dead skin around the nail plate. This step is crucial for preventing the dip powder from lifting around the cuticle area. It’s important to only trim dead skin and hangnails, never live skin, as this can lead to infections or discomfort. A clean and tidy cuticle area ensures a seamless application of the dip powder and a professional finish.
Buffing the nail surface for adhesion
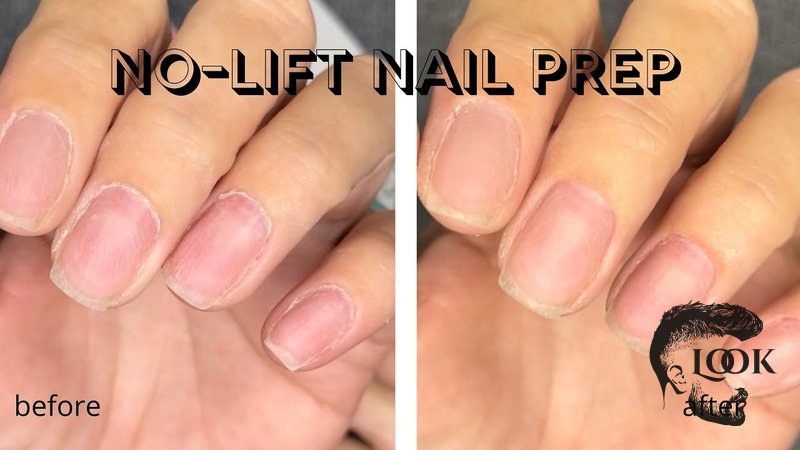
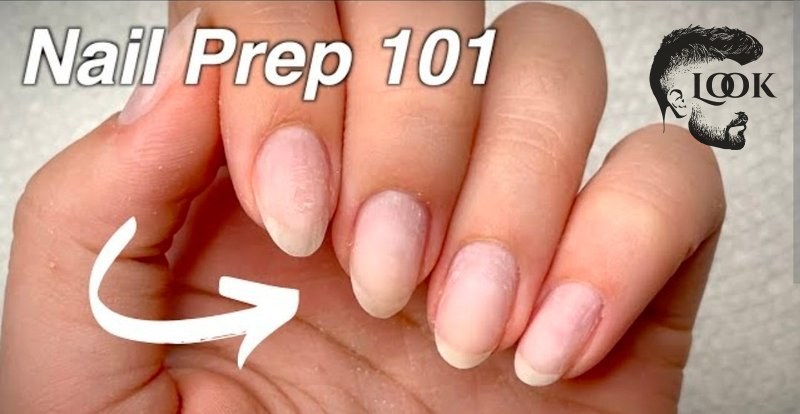
Once your nails are shaped and your cuticles are neat, the next critical step is to lightly buff the nail surface. Use a fine-grit buffer (typically 180-240 grit) to gently rough up the entire nail plate. The purpose of buffing is not to thin out your nail, but to remove the natural oils and shine, creating a slightly porous surface that the dip powder can adhere to. Focus on buffing evenly across the entire nail, including the sidewalls and near the cuticle area.
Avoid over-buffing, as this can weaken your natural nails. A few light passes are usually sufficient to achieve the desired effect. After buffing, use a clean, lint-free brush to thoroughly dust off any nail filings or debris. It’s imperative that no dust remains on the nail surface, as this can interfere with adhesion and create bumps in your finished manicure. This step ensures a clean, receptive surface for the dip powder base coat.
Dehydrating the nail plate for optimal bond
The final and perhaps most important step in nail prep for dip powder is dehydration. After buffing and dusting, your nails may still have residual oils or moisture that can prevent proper adhesion. Use a lint-free wipe saturated with rubbing alcohol (at least 70%) or a dedicated nail dehydrator product. Wipe each nail thoroughly, ensuring you reach all areas, including the sidewalls and under the free edge. This process removes any remaining oils, moisture, and contaminants.
Allow the dehydrator to fully air dry before moving on to the dip powder application. Your nails should appear matte and feel slightly dry to the touch. This ensures a clean and oil-free surface, which is essential for the base coat to create a strong, lasting bond with the natural nail. This step is crucial for preventing lifting and ensuring the longevity of your dip powder manicure. A perfectly dehydrated nail plate is the key to a flawless and durable result.
Common mistakes to avoid during nail preparation
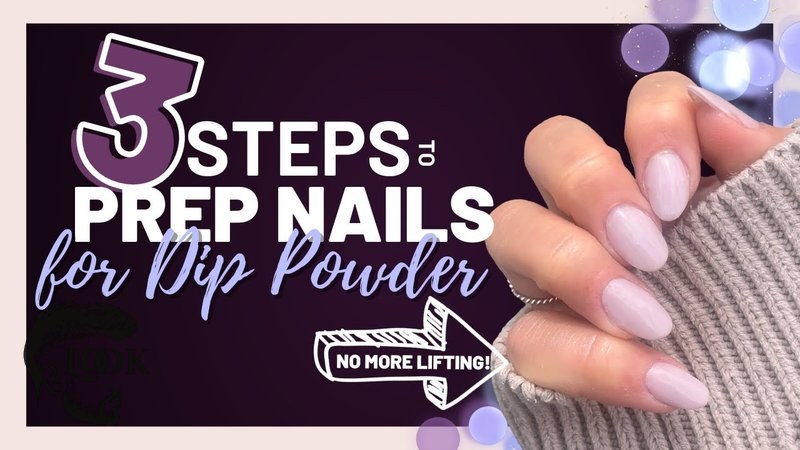
Even with a clear guide, it’s easy to make small mistakes during nail preparation that can compromise your dip powder manicure. Awareness of these common pitfalls can help you avoid them, saving you time and frustration. Rushing through steps, over-buffing, or failing to completely dehydrate the nail are frequent errors that can lead to issues like premature lifting or a less-than-perfect finish. Understanding what not to do is just as important as knowing what to do for optimal results.
Many common mistakes stem from impatience or a lack of understanding regarding the purpose of each prep step. Taking shortcuts, for instance, by not fully pushing back cuticles, can result in dip powder adhering to skin, which will inevitably lift. Similarly, leaving nail dust on the surface, or applying products to nails that are still damp, creates barriers to adhesion. By being mindful of these errors, you can significantly improve the quality and lifespan of your dip powder manicures.
Over-buffing and damaging the natural nail plate
One of the most common and damaging mistakes is over-buffing the natural nail plate. While light buffing is necessary to create a porous surface for adhesion, excessive buffing can thin and weaken your nails. This not only makes your nails more susceptible to breakage but can also cause sensitivity and pain. The goal is to remove the shine and natural oils, not to file down the nail itself. Use a fine-grit buffer and apply only gentle pressure, making just a few passes over each nail.
Always remember that less is more when it comes to buffing. If you notice your nails becoming visibly thinner or feeling tender, you are buffing too aggressively. Healthy natural nails are essential for a long-lasting dip powder manicure, as a weak base will not hold the product well. Prioritize the health of your nails by understanding the correct buffing technique and knowing when to stop, ensuring you maintain their integrity.
Skipping the dehydration step or improper cleaning
Another critical mistake is skipping or improperly performing the dehydration step. Natural nails produce oils, and even after buffing, microscopic residues can remain. If these oils are not thoroughly removed, they will create a barrier that prevents the dip powder base coat from forming a strong bond. This often leads to frustrating lifting, especially around the cuticles and free edge, shortly after application. Barberia Peluquería Look Madrid emphasizes this step.
Using a high-quality nail dehydrator or 70% isopropyl alcohol and a lint-free wipe is essential. Ensure you clean the entire nail plate, including the sidewalls and under the free edge. Allow the nails to air dry completely before proceeding. Any moisture or oil left on the nail surface will compromise the adhesion, making your manicure prone to chipping and lifting. Proper dehydration is the final seal of approval for a perfectly prepared nail.
Tips for maintaining healthy nails before and after dip powder
Beyond the immediate preparation steps, maintaining the overall health of your nails is vital for successful and long-lasting dip powder manicures. Healthy nails provide a stronger foundation, making them less prone to damage and ensuring better product adhesion. This involves practices both before and after your dip powder application, focusing on hydration, gentle care, and appropriate removal techniques. Think of it as investing in the long-term well-being of your nails, which in turn enhances the beauty and durability of your manicures.
Regular nail care routines, even when not wearing dip powder, contribute significantly to nail strength and resilience. Avoiding harsh chemicals, using cuticle oil daily, and maintaining a balanced diet all play a role. When it comes to removal, always opt for gentle, soak-off methods rather than peeling or prying, which can severely damage the nail plate. By prioritizing nail health, you create an ideal environment for consistent, beautiful dip powder results.
Hydrating cuticles and nails regularly
Consistent hydration is key to healthy nails and cuticles, whether you’re wearing dip powder or not. Dry cuticles can lead to hangnails and cracking, which not only looks unsightly but can also cause pain and infections. Regularly applying a good quality cuticle oil or balm helps to keep the skin around your nails soft and supple. This also moisturizes the nail plate itself, promoting flexibility and strength.
Make it a daily habit to massage cuticle oil into your cuticles and around your nail beds. This small effort can make a significant difference in preventing brittleness and maintaining overall nail health. Hydrated nails are less likely to break or peel, providing a much better base for any manicure, including dip powder. It’s an easy, yet effective, step that contributes greatly to the longevity and appearance of your nails.
Proper removal techniques to protect natural nails
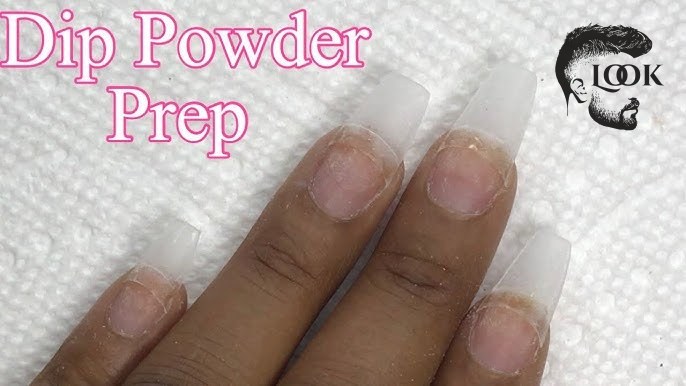
While proper nail prep for dip powder sets the foundation for a great manicure, proper removal techniques are equally crucial for maintaining nail health. Never peel, chip, or forcefully remove dip powder. This can strip layers of your natural nail, leading to thinning, weakness, and damage. Instead, opt for a gentle soak-off method using 100% pure acetone.
Soak cotton balls in acetone, place them on each nail, and then wrap your fingertips in foil. Allow them to soak for 15-20 minutes. The dip powder should soften and become pliable, allowing you to gently push it off with an orange wood stick. If any residue remains, re-soak for a few more minutes. After removal, wash your hands and immediately apply cuticle oil to rehydrate your nails and skin. This careful approach ensures your natural nails remain strong and healthy, ready for your next manicure.
| Nail Prep Step | Purpose | Key Tool(s) | Common Mistake to Avoid |
|---|---|---|---|
| Shape & File Nails | Achieve desired length & shape, smooth edges. | Nail File | Over-filing, weakening free edge. |
| Push Back Cuticles | Expose nail plate, prevent lifting. | Cuticle Pusher, Cuticle Nippers | Cutting live skin, damaging nail matrix. |
| Buff Nail Surface | Remove shine & oils, create adhesion. | Fine-Grit Buffer | Over-buffing, thinning natural nail. |
| Dehydrate Nail Plate | Remove residual oils & moisture. | Nail Dehydrator / Rubbing Alcohol, Lint-Free Wipe | Skipping this step, leaving moisture. |
Frequently asked questions about dip powder nail prep
What happens if I don’t prep my nails before dip powder?
If you skip nail prep for dip powder, your manicure is highly likely to lift, chip, and not last as long. Natural oils and moisture on the nail plate will prevent the dip powder base coat from adhering properly, leading to poor longevity and a less professional finish. It’s the most common reason for dip powder failure.
Can I use regular nail polish remover for dehydration?
No, regular nail polish remover often contains moisturizing agents or oils that are detrimental to dip powder adhesion. You should use either pure isopropyl alcohol (70% or higher) or a dedicated nail dehydrator product. These are specifically formulated to strip away oils and moisture without leaving residues.
How often should I buff my nails for dip powder?
You should only lightly buff your nails once before each dip powder application. Over-buffing can thin and damage your natural nails. A few gentle passes with a fine-grit buffer are sufficient to remove the shine and create a slightly textured surface for optimal adhesion.
Is it okay to skip cuticle removal?
While it’s important to be gentle, pushing back and carefully removing any dead cuticle skin is crucial. If dip powder adheres to the cuticle, it will inevitably lift as the nail grows. This can create an untidy appearance and significantly shorten the lifespan of your manicure.
How long does nail prep usually take?
The entire nail prep process for dip powder typically takes about 10-15 minutes, depending on your experience and how many nails you are preparing. Rushing through it can compromise the longevity of your manicure, so it’s always worth dedicating adequate time to each step for the best results.
Mastering the art of nail prep for dip powder is truly the secret to a long-lasting, beautiful manicure. By following these detailed steps—from shaping and cuticle care to buffing and dehydrating—you create the perfect foundation for flawless dip powder application. We’ve covered why each step is crucial, what tools you need, and common mistakes to avoid, ensuring your natural nails remain healthy and strong. At Barberia Peluquería Look Madrid, we believe that understanding these fundamentals empowers you to achieve salon-quality results right at home, extending the life and beauty of your manicures. Give your nails the attention they deserve, and enjoy the confidence that comes with perfectly prepped, stunning dip powder nails.