Applying dip powder at home can transform your nail game, offering salon-quality results and impressive durability. Many find themselves wondering how to achieve a smooth, long-lasting finish, especially when incorporating nail tips for added length and style. Utilizing proper nail tips for dip powder is crucial for a stunning and enduring manicure. Here at Barberia Peluquería Look Madrid, we understand the desire for beautiful, resilient nails, and we’re here to guide you through the process.
This comprehensive guide will provide you with all the essential nail tips for dip powder application, from preparing your natural nails and applying the tips to perfecting the dip powder layers and ensuring proper aftercare. Get ready to master the art of dip powder nails and enjoy professional-looking results right in your own home.
Prepare your natural nails for successful dip powder application
Proper preparation of your natural nails is the cornerstone of any successful dip powder manicure, especially when you plan to add nail tips. This initial stage ensures excellent adhesion and prevents lifting, leading to a much longer-lasting and more aesthetically pleasing result. Skipping or rushing through these steps can compromise the entire manicure.
Begin by gently pushing back your cuticles using a cuticle pusher. This creates a clean canvas and exposes more of the nail plate for product application. Next, lightly buff the surface of your natural nails to remove any shine. This step creates a slightly rough texture, allowing the dip powder base coat to adhere more effectively. Finish by thoroughly cleansing your nails with a lint-free wipe soaked in rubbing alcohol or a specialized nail dehydrator. This removes any oils and debris, which are common culprits for premature lifting.
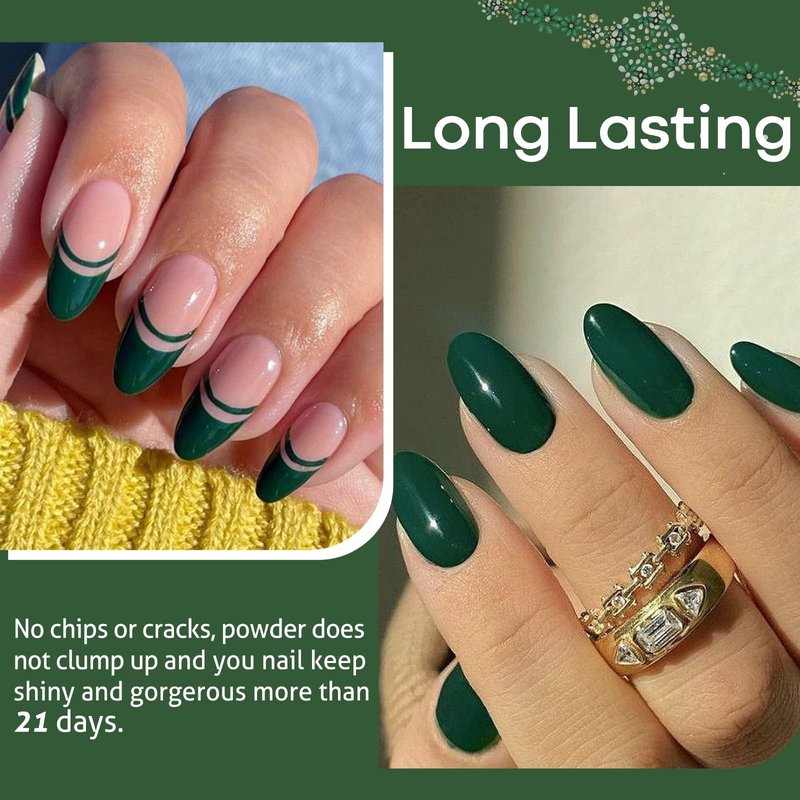
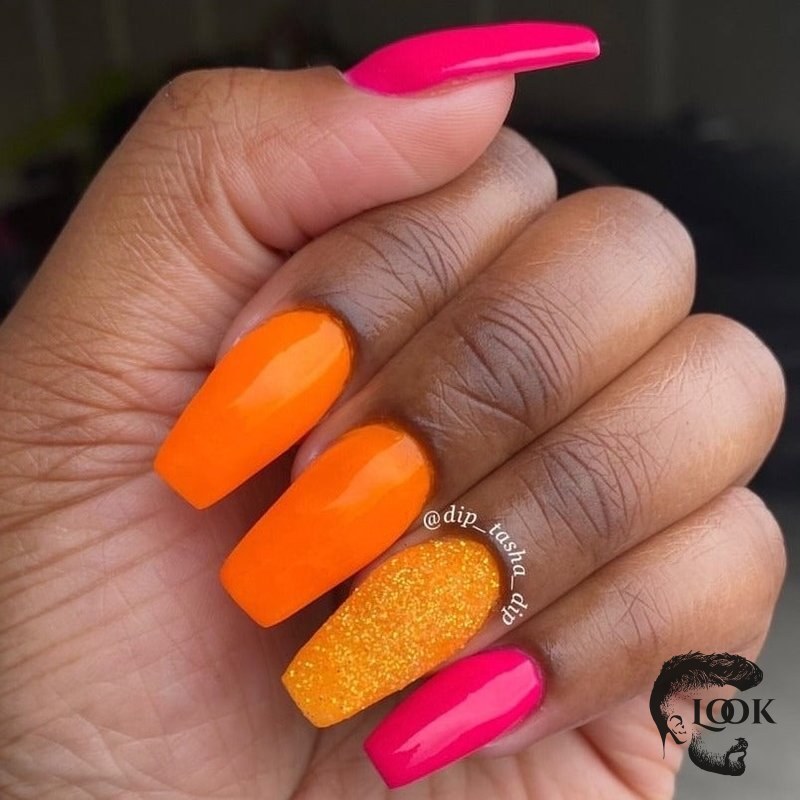
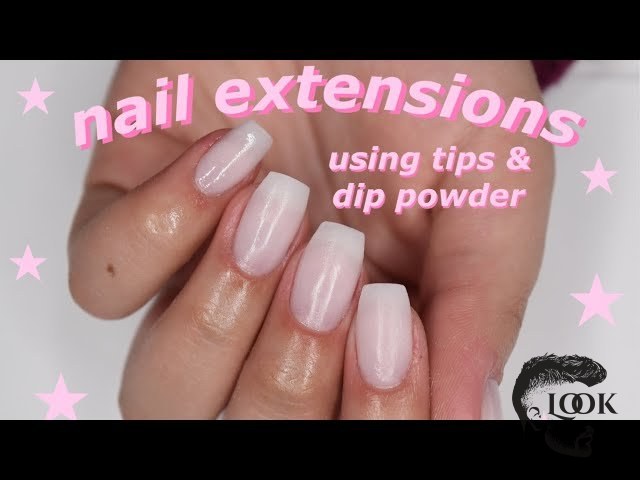
Proper nail preparation is key for beautiful, long-lasting dip powder nails. The image below showcases a successful dip powder application with nail tips, highlighting the importance of a clean base.
Choose the right nail tips for your dip powder manicure
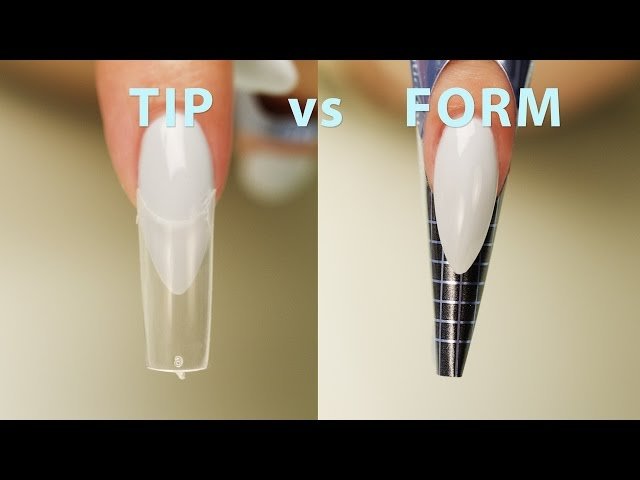
Selecting the appropriate nail tips is a crucial step when you decide to extend your nails with dip powder. The right tips not only provide the desired length and shape but also ensure compatibility with the dip powder system, leading to a strong and durable finish. Various types of nail tips are available, each offering distinct advantages.
When choosing your nail tips, consider factors like the desired length, shape, and coverage. Half-cover tips, for instance, are popular as they require less blending into the natural nail, simplifying the application process. Full-cover tips offer maximum extension and are great for achieving dramatic looks. Look for tips made from durable, flexible ABS plastic to ensure they can withstand daily wear and tear without cracking or breaking. Proper sizing is also essential; the tip should fit snugly from sidewall to sidewall without gapping or overhanging, which can lead to lifting.
Understand different nail tip types and their uses
Nail tips come in a variety of styles, each designed for specific aesthetic preferences and application techniques. Understanding these differences helps you make an informed choice for your dip powder manicure. For example, some tips are pre-shaped into popular styles like coffin, stiletto, or almond, saving you significant filing time.
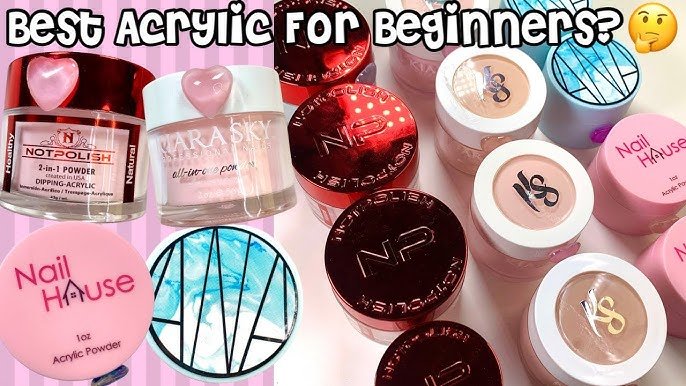
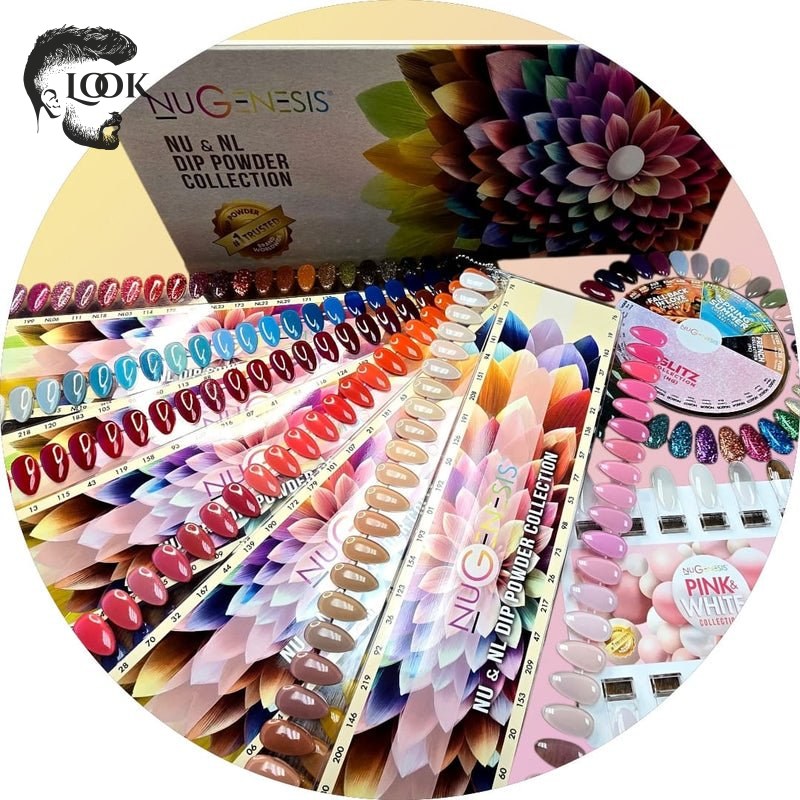
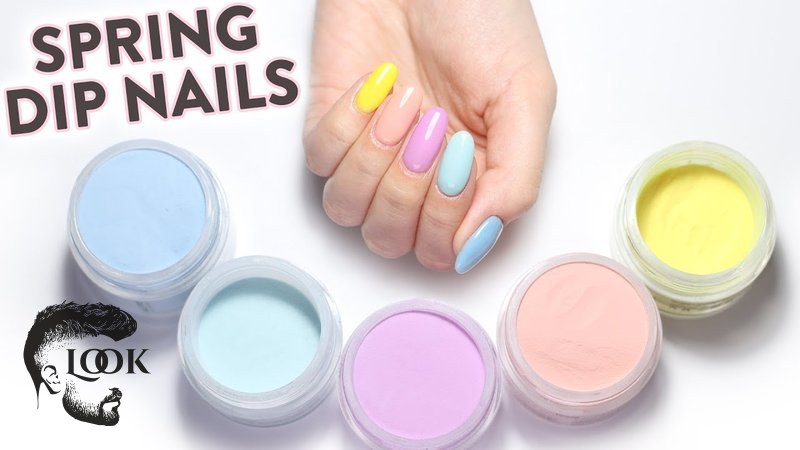
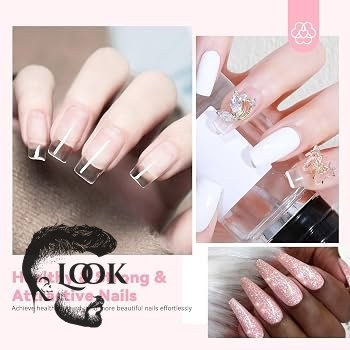
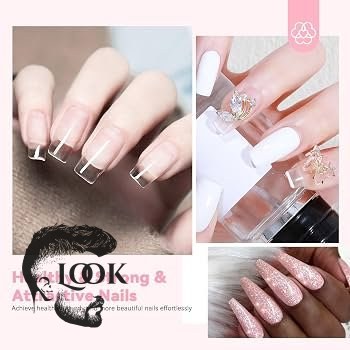
For dip powder, it’s often recommended to use tips that are thin and flexible, as this allows for easier integration with the dip powder layers, creating a seamless transition from your natural nail to the extension. Clear tips are versatile as they can be used with any colored dip powder, while natural or white tips are ideal for French manicure styles. The image below illustrates a variety of dip powder products, including clear dip powder which pairs perfectly with any tip type.
Apply nail tips correctly for strong adhesion
Attaching nail tips properly is paramount to prevent them from lifting or breaking, especially when they will be covered with dip powder. Precision and proper adhesive application are key to creating a strong bond that will last throughout your manicure’s lifespan. Take your time with this step to ensure optimal results.
After preparing your natural nails, apply a small bead of nail glue to the well of the nail tip. Gently press the tip onto your natural nail, ensuring it aligns perfectly and covers about one-third to one-half of your natural nail bed, depending on the tip type. Hold it firmly in place for at least 10-15 seconds to allow the glue to set completely. Avoid air bubbles, as these can weaken the bond. Once all tips are applied, trim and file them to your desired length and shape before proceeding with the dip powder application.
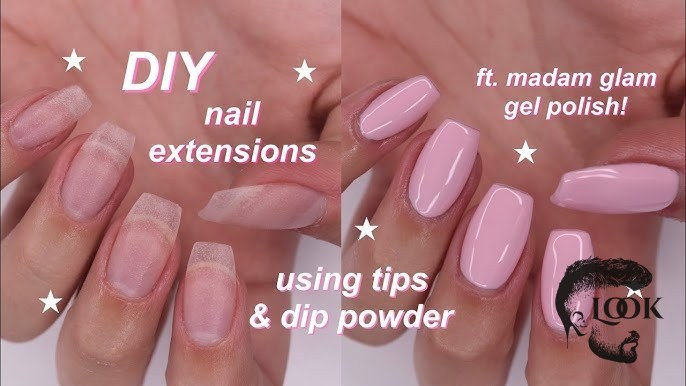
This process ensures your nail tips are firmly in place, ready for the dip powder layers. The image shows how nail extensions are created using tips and dip powder, emphasizing the initial bond.
Master the dip powder application over nail tips
Applying dip powder over nail tips requires a precise technique to achieve a smooth, even, and durable finish. This step-by-step process builds the strength and color of your manicure, transforming the tips into a seamless extension of your natural nails. Consistency and careful application are essential here.
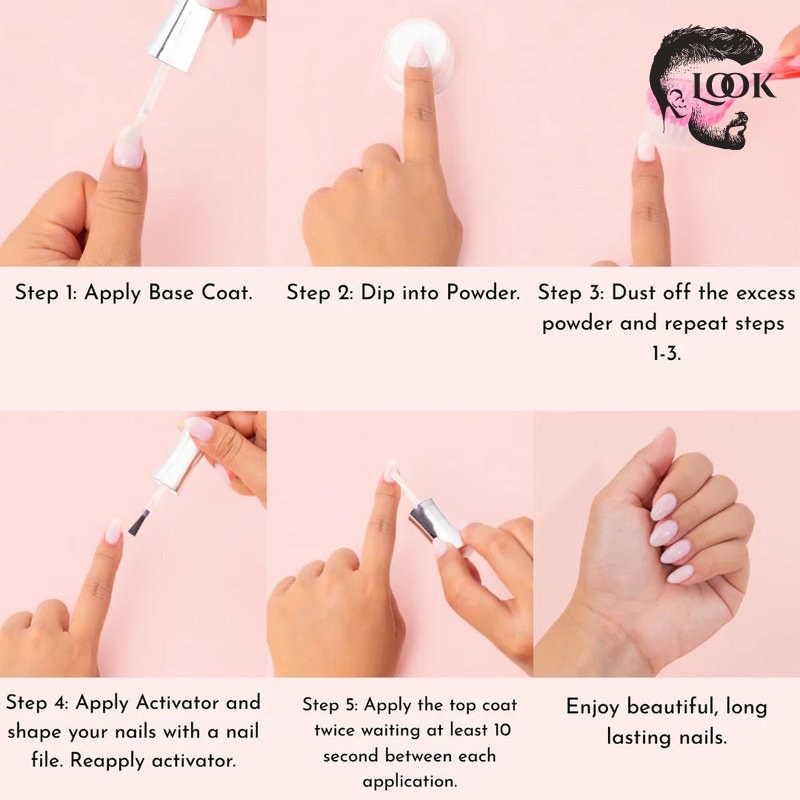
Start by applying a thin, even layer of the dip powder base coat to the entire nail, covering both your natural nail and the applied tip. Immediately dip your nail into the clear or colored dip powder at a 45-degree angle. Tap off any excess powder, then apply another layer of base coat and repeat the dipping process. For added strength and opacity, you can repeat this step 2-3 times, ensuring each layer is thin and even. This layering technique helps to build a strong apex and prevents lumps or uneven surfaces. The image demonstrates a successful dip powder application, showing the smooth finish achievable with proper technique.
Layer dip powder for strength and even coverage
Building up the dip powder layers correctly is vital for both the strength and the appearance of your manicure, especially when working with nail tips. Each layer contributes to the overall durability and ensures complete, opaque color. Proper layering prevents chipping and premature wear.
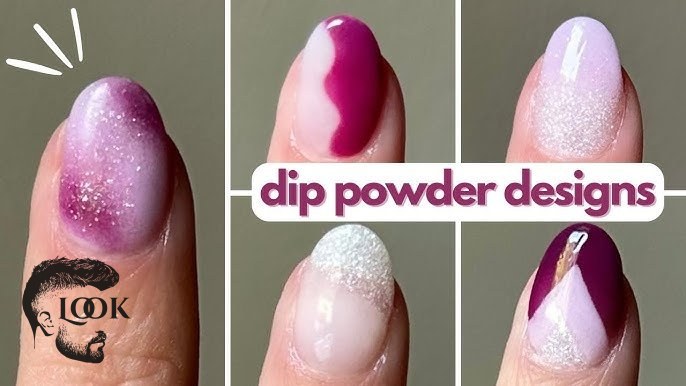
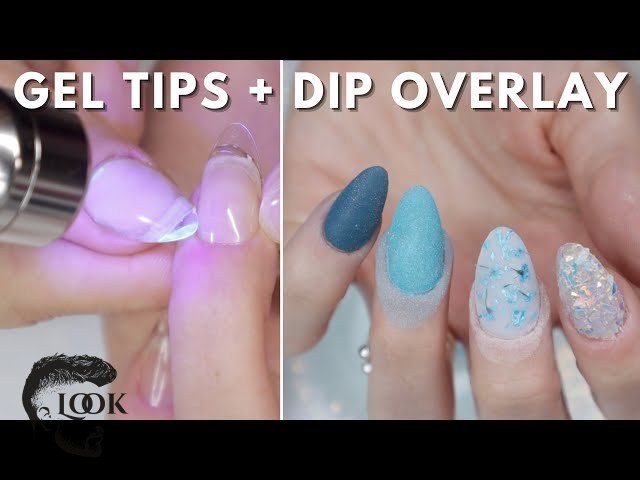
After applying the first coat and dipping, gently brush off any loose powder. Then, apply a second layer of the base coat, this time covering slightly less of the nail near the cuticle to create a natural-looking apex. Dip again, and repeat the brushing. For the final color layer, ensure full coverage from cuticle to free edge. Some professionals recommend a clear layer before the color to protect the color pigment from filing, and another clear layer on top of the color for extra protection and easier buffing. The process of layering is important for a professional finish, as seen in various tutorials.
Activate and seal your dip powder layers
The activator is a crucial component in the dip powder system, responsible for curing and hardening the powder layers. Without proper activation, your manicure will remain soft and susceptible to damage. This step prepares the nails for filing and the final top coat application.
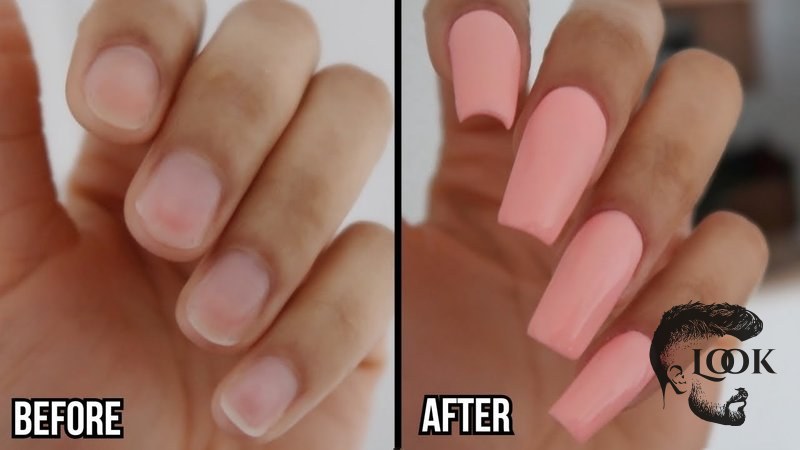
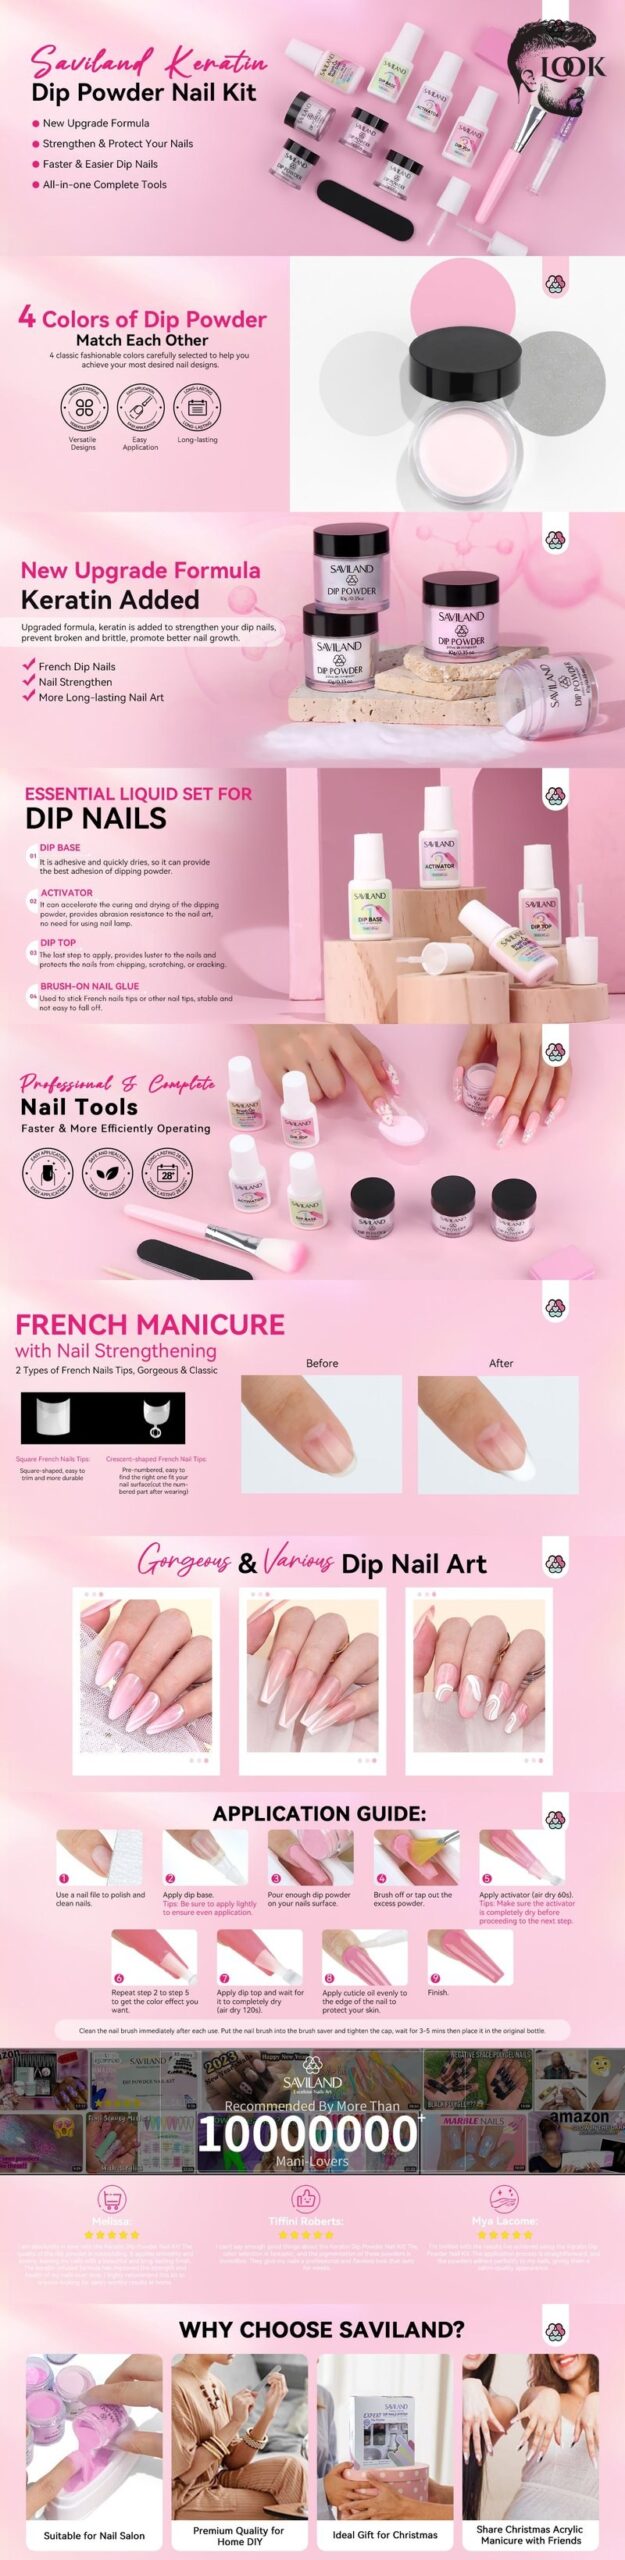
Once all your dip powder layers are applied and any excess powder is brushed away, generously apply a layer of activator liquid to each nail. Allow it to air dry for about 1-2 minutes. You’ll notice the nails hardening almost instantly. This step is essential for setting the powder. After activation, lightly file and shape your nails to refine their form and smooth out any imperfections. This ensures a flawless foundation for the top coat. The various dip powder products often come with clear instructions for this step, as shown in kits like Saviland’s.
Finish and protect your dip powder manicure
The final steps of your dip powder manicure are just as important as the initial application in ensuring longevity and a brilliant shine. Proper finishing and protection will seal in your hard work, prevent chipping, and keep your nails looking fresh for weeks. This is where your manicure truly shines.
After filing and shaping your activated dip powder nails, cleanse them again with alcohol to remove any dust. Then, apply a thin, even layer of the dip powder top coat. This coat provides a high-gloss finish and acts as a protective barrier. Allow it to dry completely, which usually takes a few minutes. For an extra layer of shine and protection, some prefer to apply a second top coat. This final step enhances the overall appearance and extends the life of your dip powder manicure, delivering salon-quality results right at home with the excellent techniques you have learned from Barberia Peluquería Look Madrid.
Shape and buff for a smooth, professional look
Achieving a smooth, professional finish with your dip powder nails involves careful shaping and buffing after the activator has been applied. This step refines the nail’s structure and prepares the surface for a flawless top coat. Skipping this can result in uneven or bulky nails.
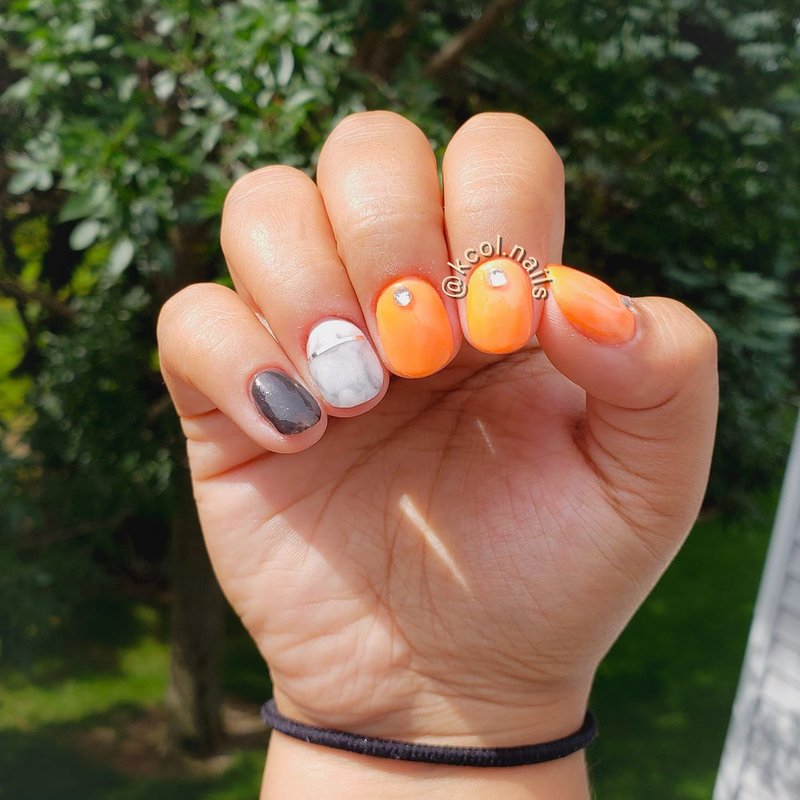
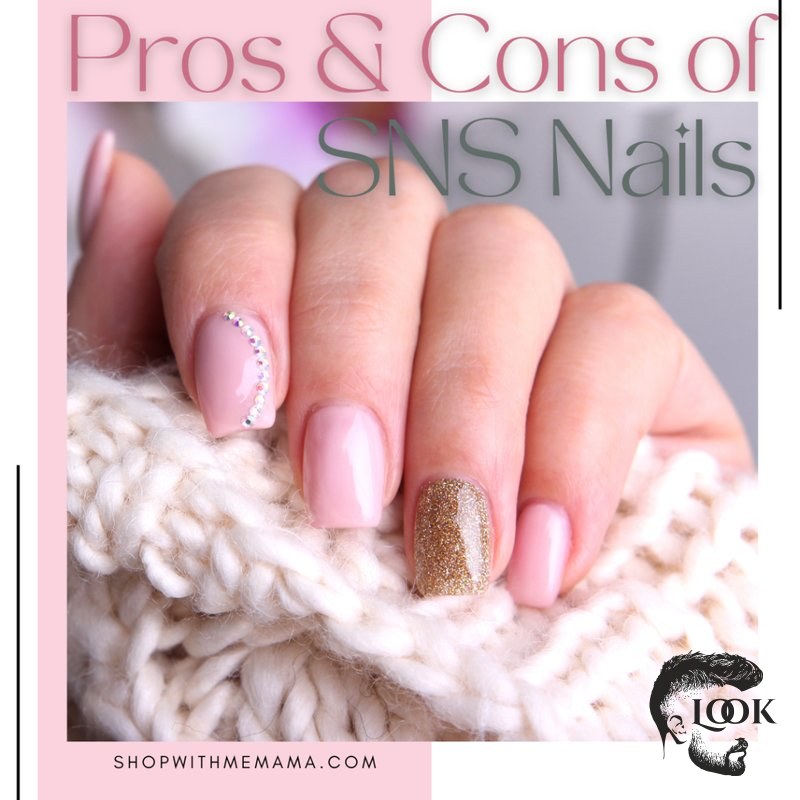
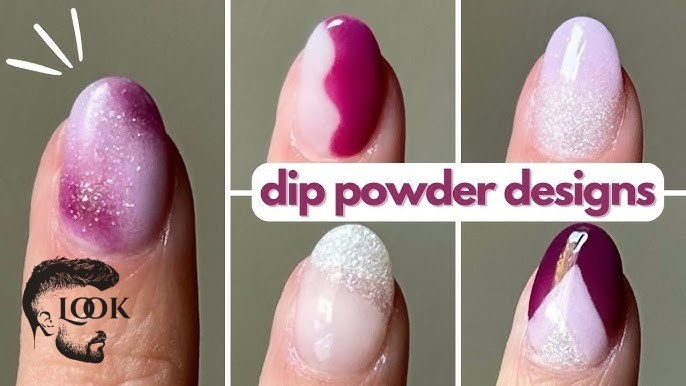
Use a 100/180 grit nail file to shape the free edge of your nails and define their overall contour. Focus on creating a consistent shape across all nails. Next, use a finer grit buffer to smooth out any bumps or unevenness on the nail surface. Pay particular attention to the area around the cuticle and the blend line where the nail tip meets your natural nail. This step ensures a seamless transition and a polished look. The image below illustrates the beauty of well-shaped dip powder nails, inspiring perfect shaping.
Apply top coat for shine and durability
The final top coat application is what gives your dip powder manicure its characteristic high-gloss finish and provides an essential layer of protection. This step is crucial for sealing the layers, preventing chips, and ensuring your manicure lasts for weeks. A properly applied top coat makes all the difference.
After cleansing your nails of any filing dust, apply a thin, even layer of the dip powder top coat. Ensure full coverage from cuticle to free edge. Allow this first layer to dry completely for about 1-2 minutes. For maximum shine and longevity, apply a second, slightly thicker layer of top coat. This double layer adds extra durability and depth to the shine. Once dry, your dip powder manicure with tips is complete, boasting a salon-quality finish that’s ready to impress. The various colors of dip powder shown in kits highlight the stunning results achievable with a good top coat.
Maintain your dip powder nails with proper aftercare
Proper aftercare is essential for extending the life of your dip powder manicure and keeping your nails healthy and beautiful. While dip powder is known for its durability, a little maintenance goes a long way in preventing lifting, chipping, and maintaining their fresh appearance. Consistent care will ensure your efforts last.
Regularly moisturize your cuticles and the skin around your nails with cuticle oil. This keeps them hydrated and prevents dryness, which can contribute to lifting. Avoid using your nails as tools to open cans or scratch surfaces, as this can cause them to chip or break. Wear gloves when doing household chores involving water or harsh chemicals to protect your manicure. If you notice any lifting, address it promptly to prevent further damage or moisture buildup underneath the nail. Following these simple aftercare tips will help you enjoy your beautiful dip powder nails for as long as possible.
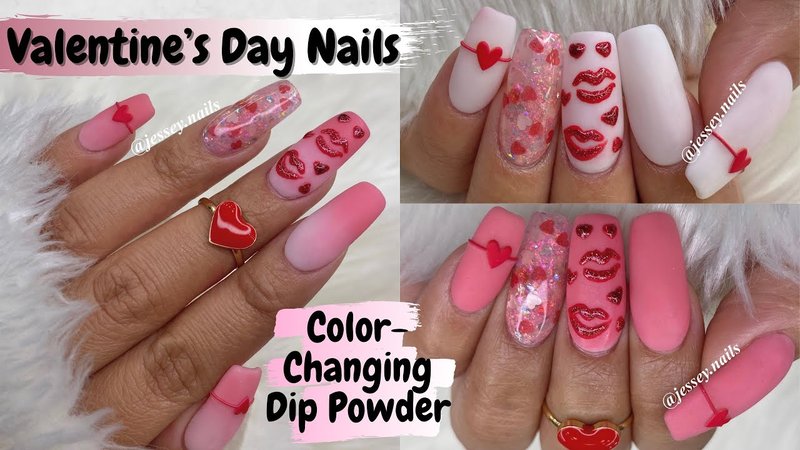
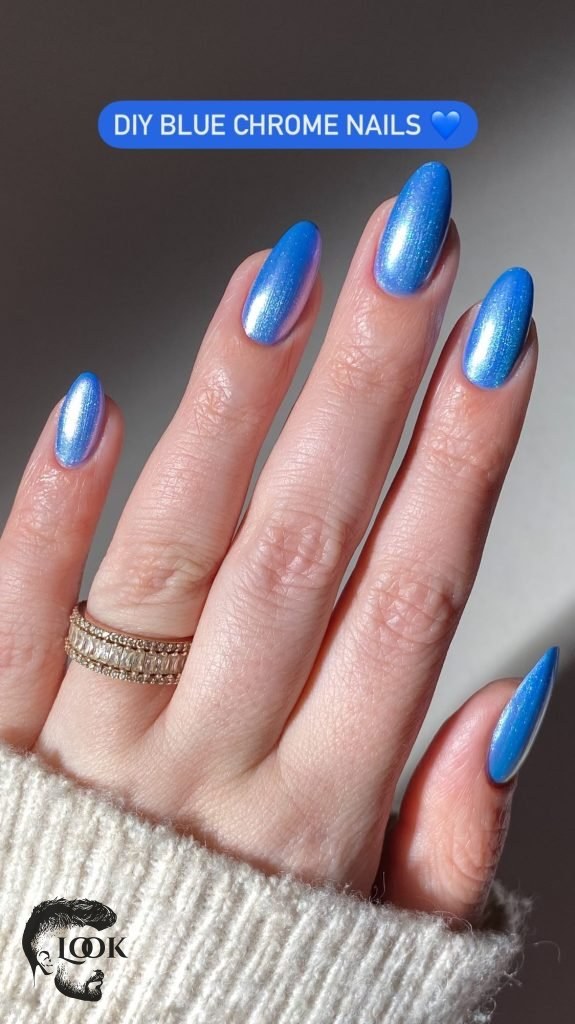
The vibrancy of dip powder, as shown in various nail art, can be maintained with good aftercare.
Frequently Asked Questions about Dip Powder Nail Tips
How do I choose the right size nail tip for my dip powder application?
To choose the correct nail tip size, ensure the tip fits perfectly from sidewall to sidewall of your natural nail without any gaps or overlap. If a tip is slightly too wide, you can gently file down the sides for a better fit. Avoid tips that are too small, as they can cause stress on your natural nail and lead to lifting.
What is the best way to prevent lifting when applying nail tips with dip powder?
Preventing lifting starts with thorough nail preparation, including pushing back cuticles and gently buffing the nail surface. Ensure the nail tip is securely adhered without any air bubbles, and apply thin, even layers of base coat and dip powder. Proper activation and sealing are also crucial for a strong, long-lasting bond.
Can I reuse nail tips for dip powder manicures?
It is generally not recommended to reuse nail tips for dip powder manicures. Used tips may retain residues from previous applications, which can compromise adhesion and hygiene. For the best and most sanitary results, always use fresh, clean nail tips for each new application to ensure a strong and lasting manicure.
How often should I apply cuticle oil to my dip powder nails?
Applying cuticle oil daily or every other day is highly recommended for dip powder nails. Consistent use helps to keep your cuticles hydrated, prevents them from drying out, and can contribute to the overall flexibility and longevity of your manicure by promoting healthy nail growth and minimizing lifting.
Is it possible to do a French manicure with dip powder and nail tips?
Yes, achieving a French manicure with dip powder and nail tips is definitely possible and quite popular. You can use clear or natural-colored tips as a base, then apply white dip powder to the free edge of the tip to create the classic French tip look. Finish with a clear dip powder layer and top coat for durability.
Conclusion
Mastering the art of applying nail tips for dip powder at home truly empowers you to achieve salon-quality results with confidence. By diligently following these expert tips—from precise nail preparation and careful tip selection to meticulous dip powder layering, activation, and sealing—you can ensure a stunning, long-lasting manicure every time. Remember that consistency in application and diligent aftercare are the keys to maintaining vibrant, chip-free nails.
We hope this guide has provided you with invaluable insights and practical advice to elevate your home dip powder routine. Should you desire professional guidance or a flawless salon experience, do not hesitate to visit us at Barberia Peluquería Look Madrid. We are always here to help you achieve your desired nail aesthetic!